If you’ve read my guide on installing Claude Code, you know it runs in the terminal. No fancy chat window. No drag-and-drop. Just a blinking cursor waiting for your input.
So here’s the question everyone asks: how do you show Claude Code what you’re looking at?
When I’m stuck on a WordPress settings page, staring at a Google Analytics dashboard I don’t understand, or facing an error message in Korean and English mixed together — I can’t exactly describe every pixel on screen in words. I need to show it.
And that’s exactly what I do. Every single day. With screenshots and file paths.
The Three-Step Workflow
My entire communication method with Claude Code comes down to three steps:
- Take a screenshot with Shottr
- Copy the file path with Option+Command+C (⌥⌘C)
- Paste the path into Claude Code and ask my question
That’s it. No uploading to cloud services. No opening a browser. No switching apps. Screenshot → path → paste → ask.
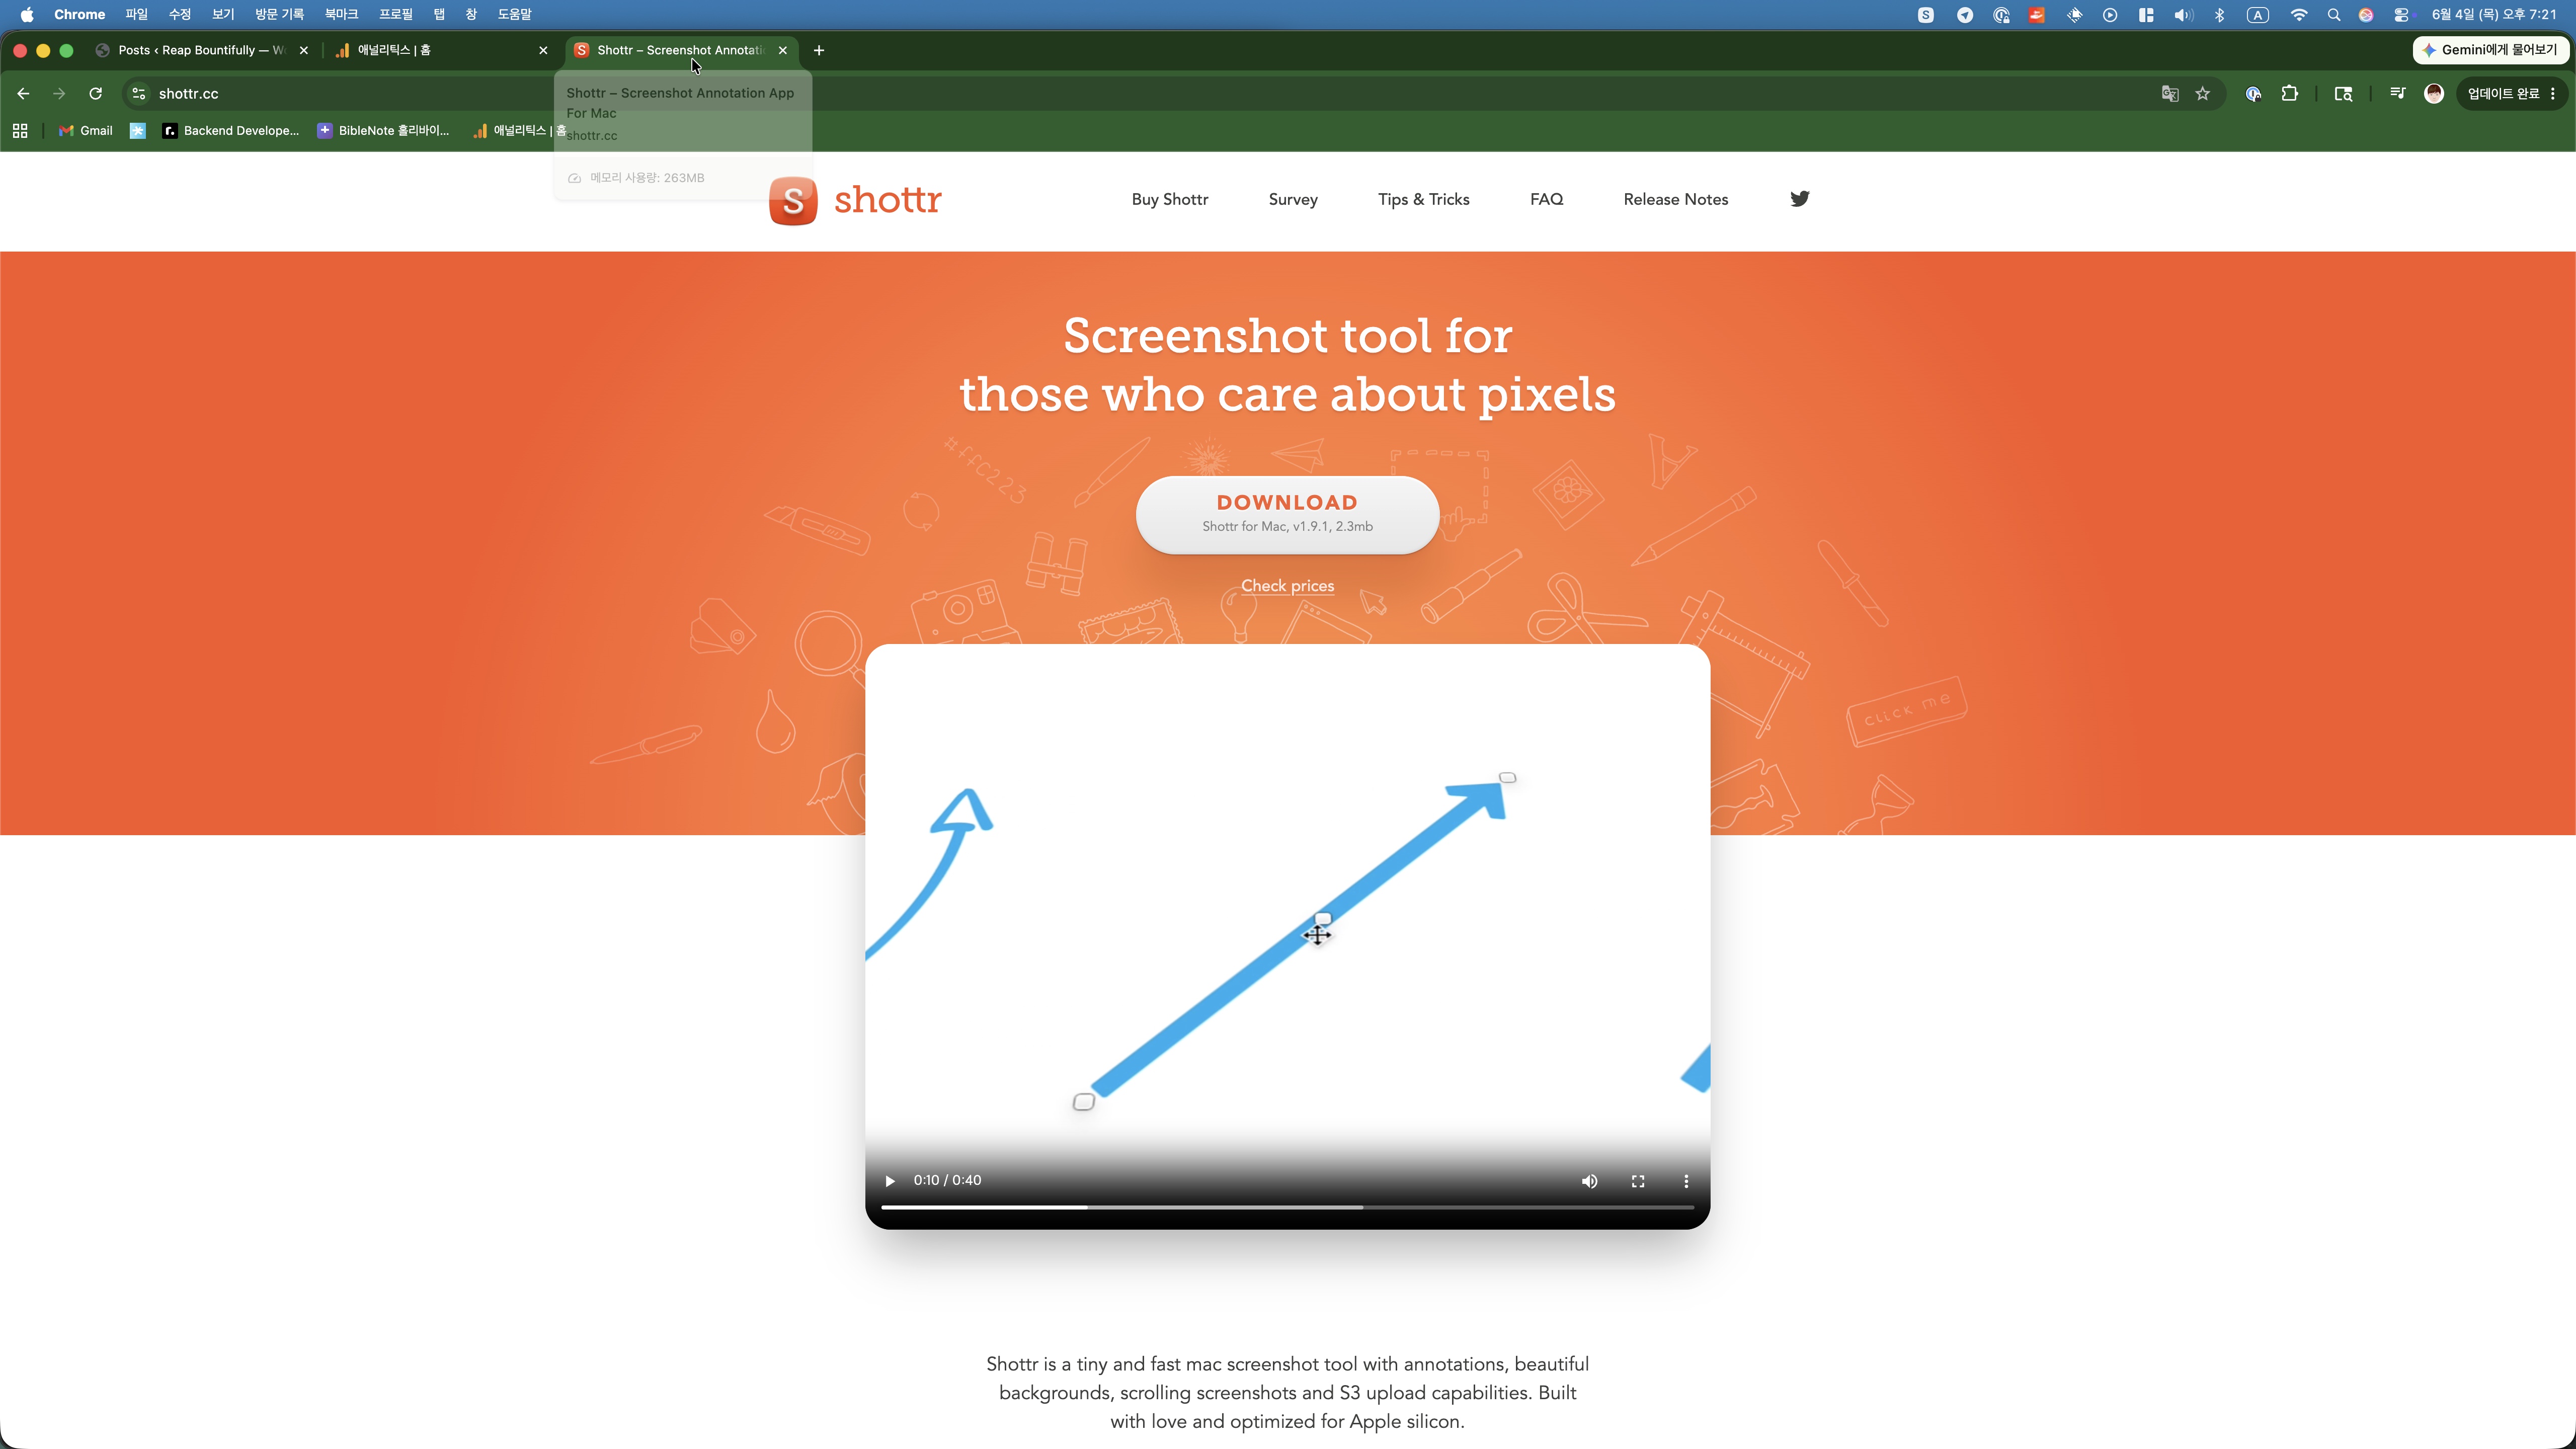
Step 1: Shottr — The Screenshot Tool That Changed Everything
I used to use the default Mac screenshot (Cmd+Shift+4). It works fine for basic captures. But when you’re communicating with AI through screenshots dozens of times a day, you need more.
Shottr is a tiny (2.3MB) screenshot app built for Apple Silicon Macs. It’s essentially free — pay what you want. And it does everything I need:
- Annotate instantly — arrows, text, highlights, zoom into small text
- Blur sensitive info — pixelate passwords, personal data, API keys before sharing
- Scrolling screenshots — capture an entire long page, not just what’s visible
- Auto-save to a designated folder — this is the killer feature for my workflow
That last point — auto-saving to a specific folder — is what makes the whole workflow seamless. Every screenshot I take lands in /Users/gooya/workspace/Screenshot/ with a predictable filename like SCR-20260604-qwhx.jpeg. No “Save As” dialog. No thinking about where to put it. Just capture and move on.
Step 2: Copy the Full File Path
This is a Mac trick that most people don’t know about. After saving a screenshot:
- Open Finder and navigate to the screenshot folder
- Select the file you just saved
- Press Option+Command+C (⌥⌘C)
That’s it. The full file path is now on your clipboard:
/Users/gooya/workspace/Screenshot/SCR-20260604-qwhx.jpegThis is different from regular copy (Cmd+C), which copies the file itself. Option+Command+C copies the path as text — exactly what Claude Code needs.
Step 3: Paste Into Claude Code and Ask
Now I switch to my terminal where Claude Code is running, paste the path, and ask my question. Here’s what it actually looks like:
이 스크린샷 확인해봐 /Users/gooya/workspace/Screenshot/SCR-20260604-qwhx.jpeg
여기서 뭘 눌러야해?
Translation: “Check this screenshot. What should I click here?”
Claude Code reads the image file directly from the path. It sees whatever I’m seeing — the UI, the buttons, the error messages, all of it — and tells me exactly what to do next.
Yes, I talk to Claude in Korean. And yes, it understands both my Korean questions AND the English UI in the screenshot. That’s the magic.
Real Examples From Building This Blog
This isn’t theoretical. Here are actual scenarios from my daily workflow building reapbountifully.com:
Setting Up WordPress
이 화면에서 다음에 뭘 해야해? /Users/gooya/workspace/Screenshot/SCR-20260601-abcd.jpeg“What do I do next on this screen?” — When I was configuring Yoast SEO settings and had no idea which toggles to turn on.
Debugging Errors
이 에러 어떻게 해결해? /Users/gooya/workspace/Screenshot/SCR-20260602-efgh.jpeg“How do I fix this error?” — Instead of trying to retype a stack trace or copy text from a GUI that won’t let me select it.
Configuring Services
여기서 어떤 걸 선택해야해? /Users/gooya/workspace/Screenshot/SCR-20260603-ijkl.jpeg“What should I select here?” — Google Analytics settings, AdSense configuration, DNS records — any screen where I’m not sure which option is right.
Writing Blog Posts
이 대화 내용을 블로그 글에 포함해줘 /Users/gooya/workspace/Screenshot/SCR-20260604-mnop.jpeg“Include this conversation in the blog post.” — When I want to reference something from a Telegram chat or another tool.
Why This Matters (Especially for Non-Developers)
If you’re a beginner or someone who isn’t super technical, this workflow is a game-changer. Here’s why:
- You don’t need to explain what you’re seeing. Just show it. A screenshot contains more information than three paragraphs of description.
- Claude understands the UI context. It can read buttons, menus, error messages, form fields — everything visible in the screenshot.
- Language doesn’t matter. I ask in Korean, the UI is in English, and Claude handles both without breaking a sweat.
- No need to retype error messages. Ever tried to manually copy an error from a dialog box that won’t let you select text? Screenshot solves that instantly.
- It’s like having a tech-savvy friend looking over your shoulder. Except this friend is available 24/7 and never gets annoyed by “dumb” questions.
Why Shottr and Not Just the Default Mac Screenshot?
To be clear — this post isn’t a Shottr review. The workflow works with ANY screenshot tool. The default Mac screenshot (Cmd+Shift+4) captures images just fine, and Claude Code will read them just the same.
But Shottr makes the workflow smoother because of a few specific things:
- Annotations before saving — I can circle the exact button I’m confused about, add an arrow pointing to the error, or zoom into tiny text. This helps Claude give more precise answers.
- Blur sensitive info — Before pasting a path to Claude (which reads the file), I can pixelate passwords, API keys, or personal info right in Shottr. Good habit.
- Auto-save to one folder — No hunting through Desktop or Downloads for the screenshot. It’s always in the same place.
- Scrolling capture — Some settings pages are long. Scrolling screenshots capture the whole thing in one image.
At 2.3MB and built natively for Apple Silicon, it doesn’t slow anything down. I’ve had it running for months and never thought about it once — which is exactly what a good tool should be.
The Meta Point
Here’s something worth pausing on: this entire blog exists because of screenshots.
Every time I didn’t know what button to click in WordPress — screenshot. Every time Yoast SEO showed me a setting I didn’t understand — screenshot. Google Analytics setup? Screenshot. DNS configuration? Screenshot. AdSense application? Screenshot.
The blog you’re reading right now was built by a developer who knows code but didn’t know WordPress, SEO, or content strategy. The gap between “I can code” and “I can run a blog” was bridged almost entirely by screenshots and a patient AI.
Getting Started
If you want to try this workflow:
- Install Claude Code — Check my installation guide if you haven’t already
- Download Shottr — Get it from shottr.cc (or use any screenshot tool you like)
- Set up a screenshot folder — In Shottr preferences, set a save directory
- Learn ⌥⌘C — Select a file in Finder, press Option+Command+C to copy the full path
- Start asking — Take a screenshot, copy the path, paste it into Claude Code with your question
That’s the whole setup. Five minutes and you’re ready to communicate with AI visually.
How This Post Was Made
I told Claude Code about my screenshot workflow — how I use Shottr, Option+Command+C, and file paths to communicate visually — and asked it to write this guide. And yes, I sent a screenshot of the Shottr website to Claude to include in this very post.
The instructions were in Korean: what to cover, what examples to include, what the real workflow looks like. Claude turned that into the article you just read.
Which, if you think about it, is exactly the point of this post. You don’t need perfect English or technical vocabulary to work with AI. You just need to show it what you’re looking at.
This post was written with Claude AI. I provided the direction, topic, and key points in Korean — Claude turned it into the article you just read.