After setting up the blog, SEO, and Google Search Console, I realized I was missing something important: I had no way to see who was actually visiting my site. Search Console tells me about Google searches, but it does not show me real-time visitors, page views, or where my traffic is coming from.
So I told Claude: “I need to track traffic. Set up Google Analytics.” And as usual, what followed was a back-and-forth of screenshots and instructions.
Me: “How do I check traffic?”
Claude gave me three options: Google Search Console (already set up), Google Analytics (not yet), and raw server logs. It said server logs can show basic info right away, so it ran a quick command to check.
Turns out there were already hundreds of hits on the server — mostly bots and crawlers, but still interesting to see activity on a site that was only hours old. Claude said Google Analytics would separate real human visitors from bots, which is what I actually need.
The Problem: I Already Had a Google Analytics Account
When I opened Google Analytics, it dropped me into an existing dashboard for a completely different project.
I already had a Google Analytics account from a previous project, so it dropped me into that old dashboard. I screenshotted it and sent it to Claude. It told me I needed to create a new “property” for reapbountifully.com — the existing account was fine, I just needed to add a new site to it.
Creating a New Property (Screenshot by Screenshot)
Claude told me to click the gear icon for settings, then find the “+ Create” button. I did, and got the property creation wizard.
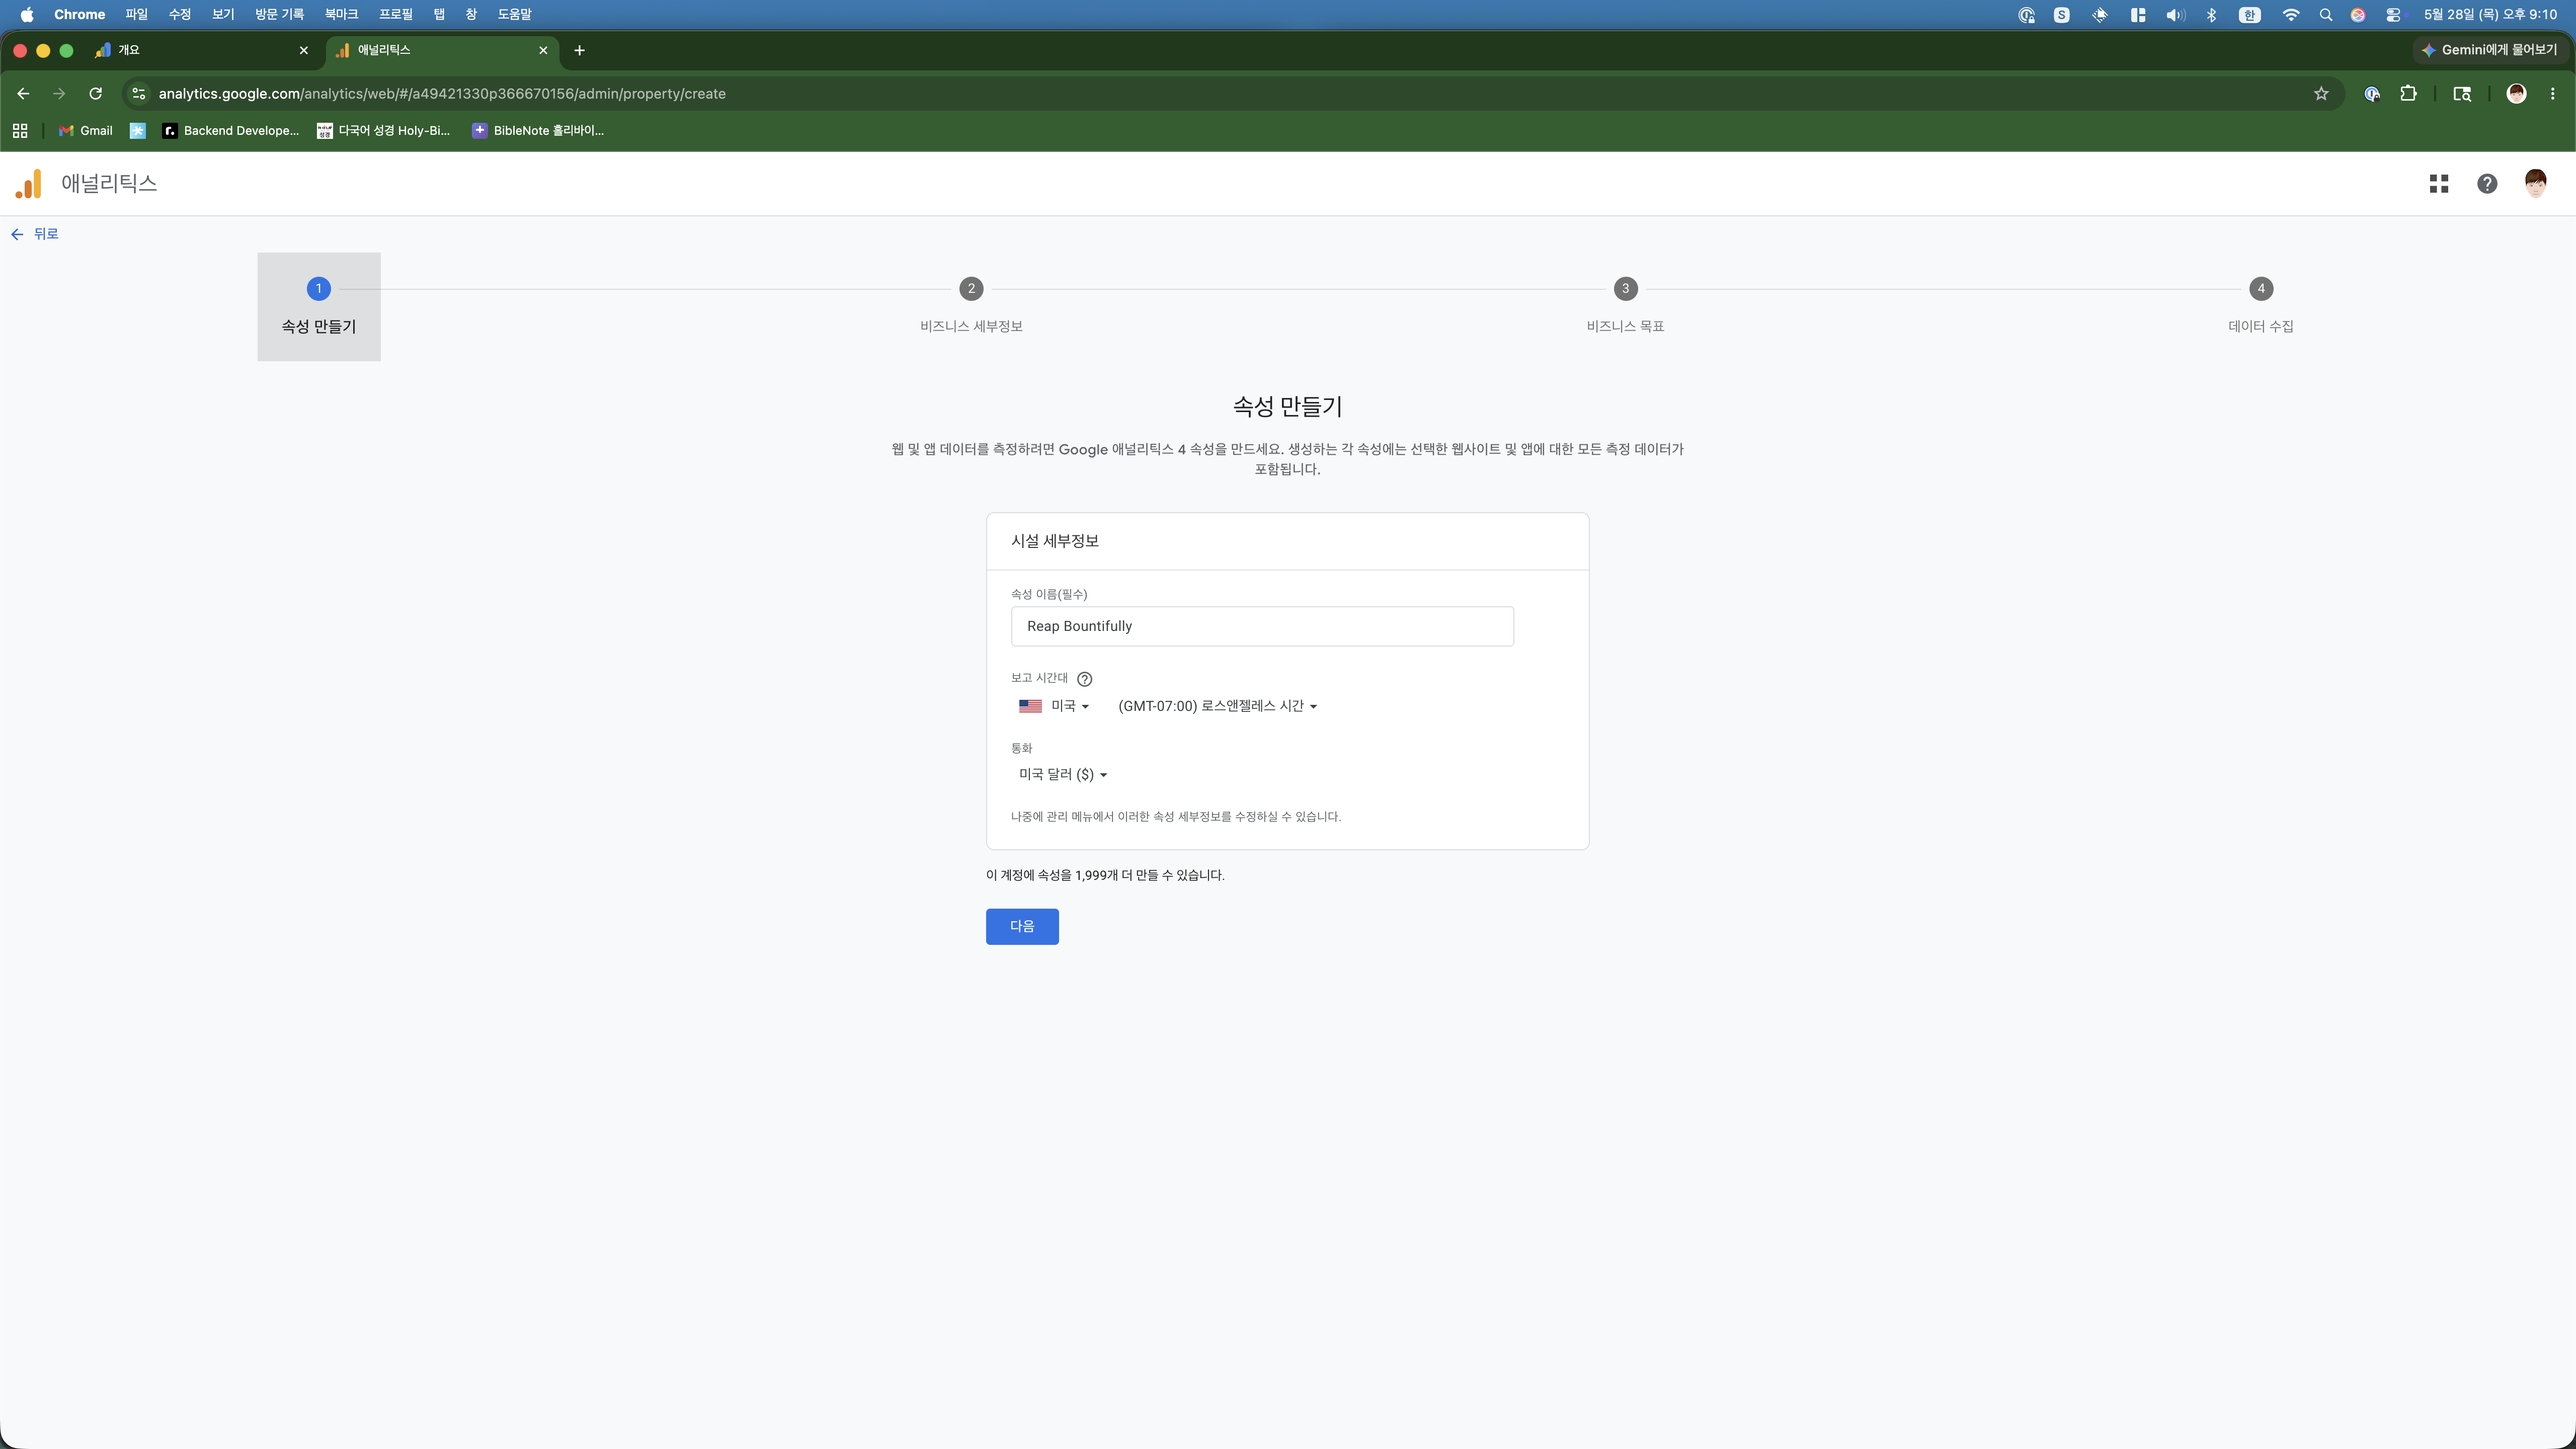
Claude told me to set the timezone to US and currency to USD since the blog targets American readers. Makes sense — this way the analytics data aligns with when my audience is actually online.
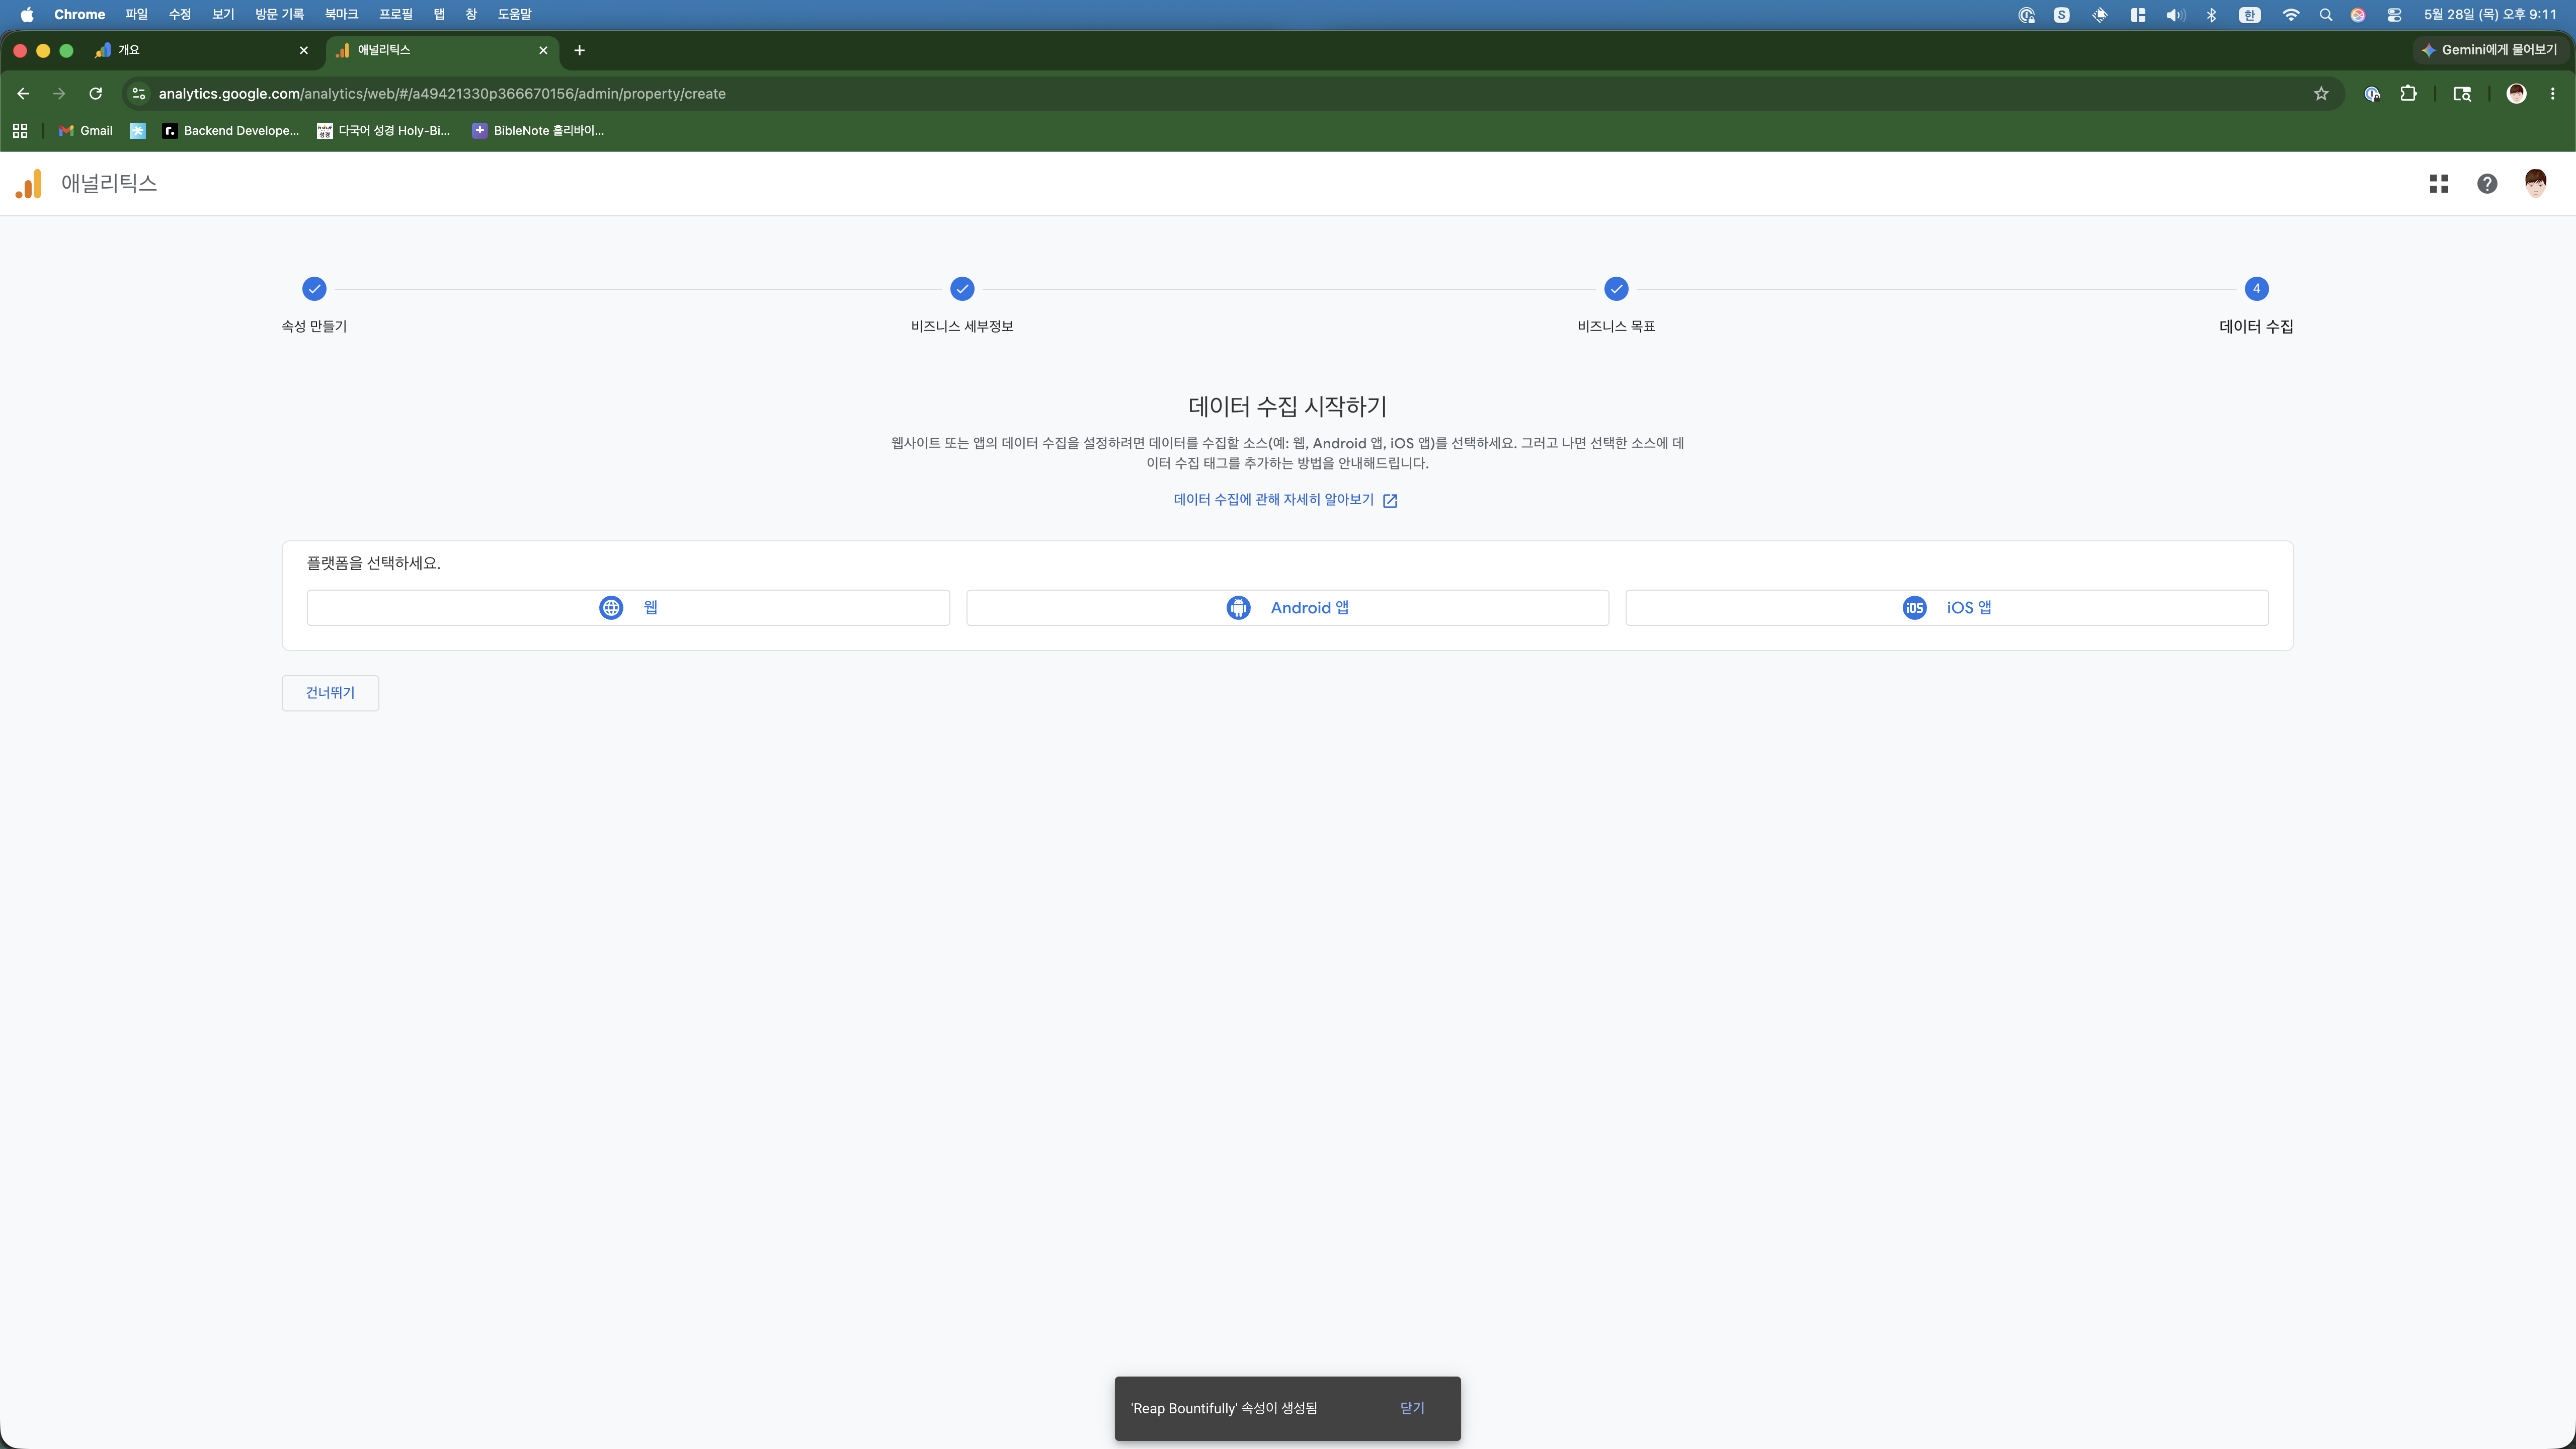
Then came business details (I picked “small, 1-10 employees” because it is literally just me), business goals (I selected “web traffic”), and finally the data stream setup.
Me: “Do I need to test the installation?”
When I clicked on the stream, Google showed me two options for installing the tracking code: “WordPress plugin” or “Install manually.” I asked Claude which one to pick.
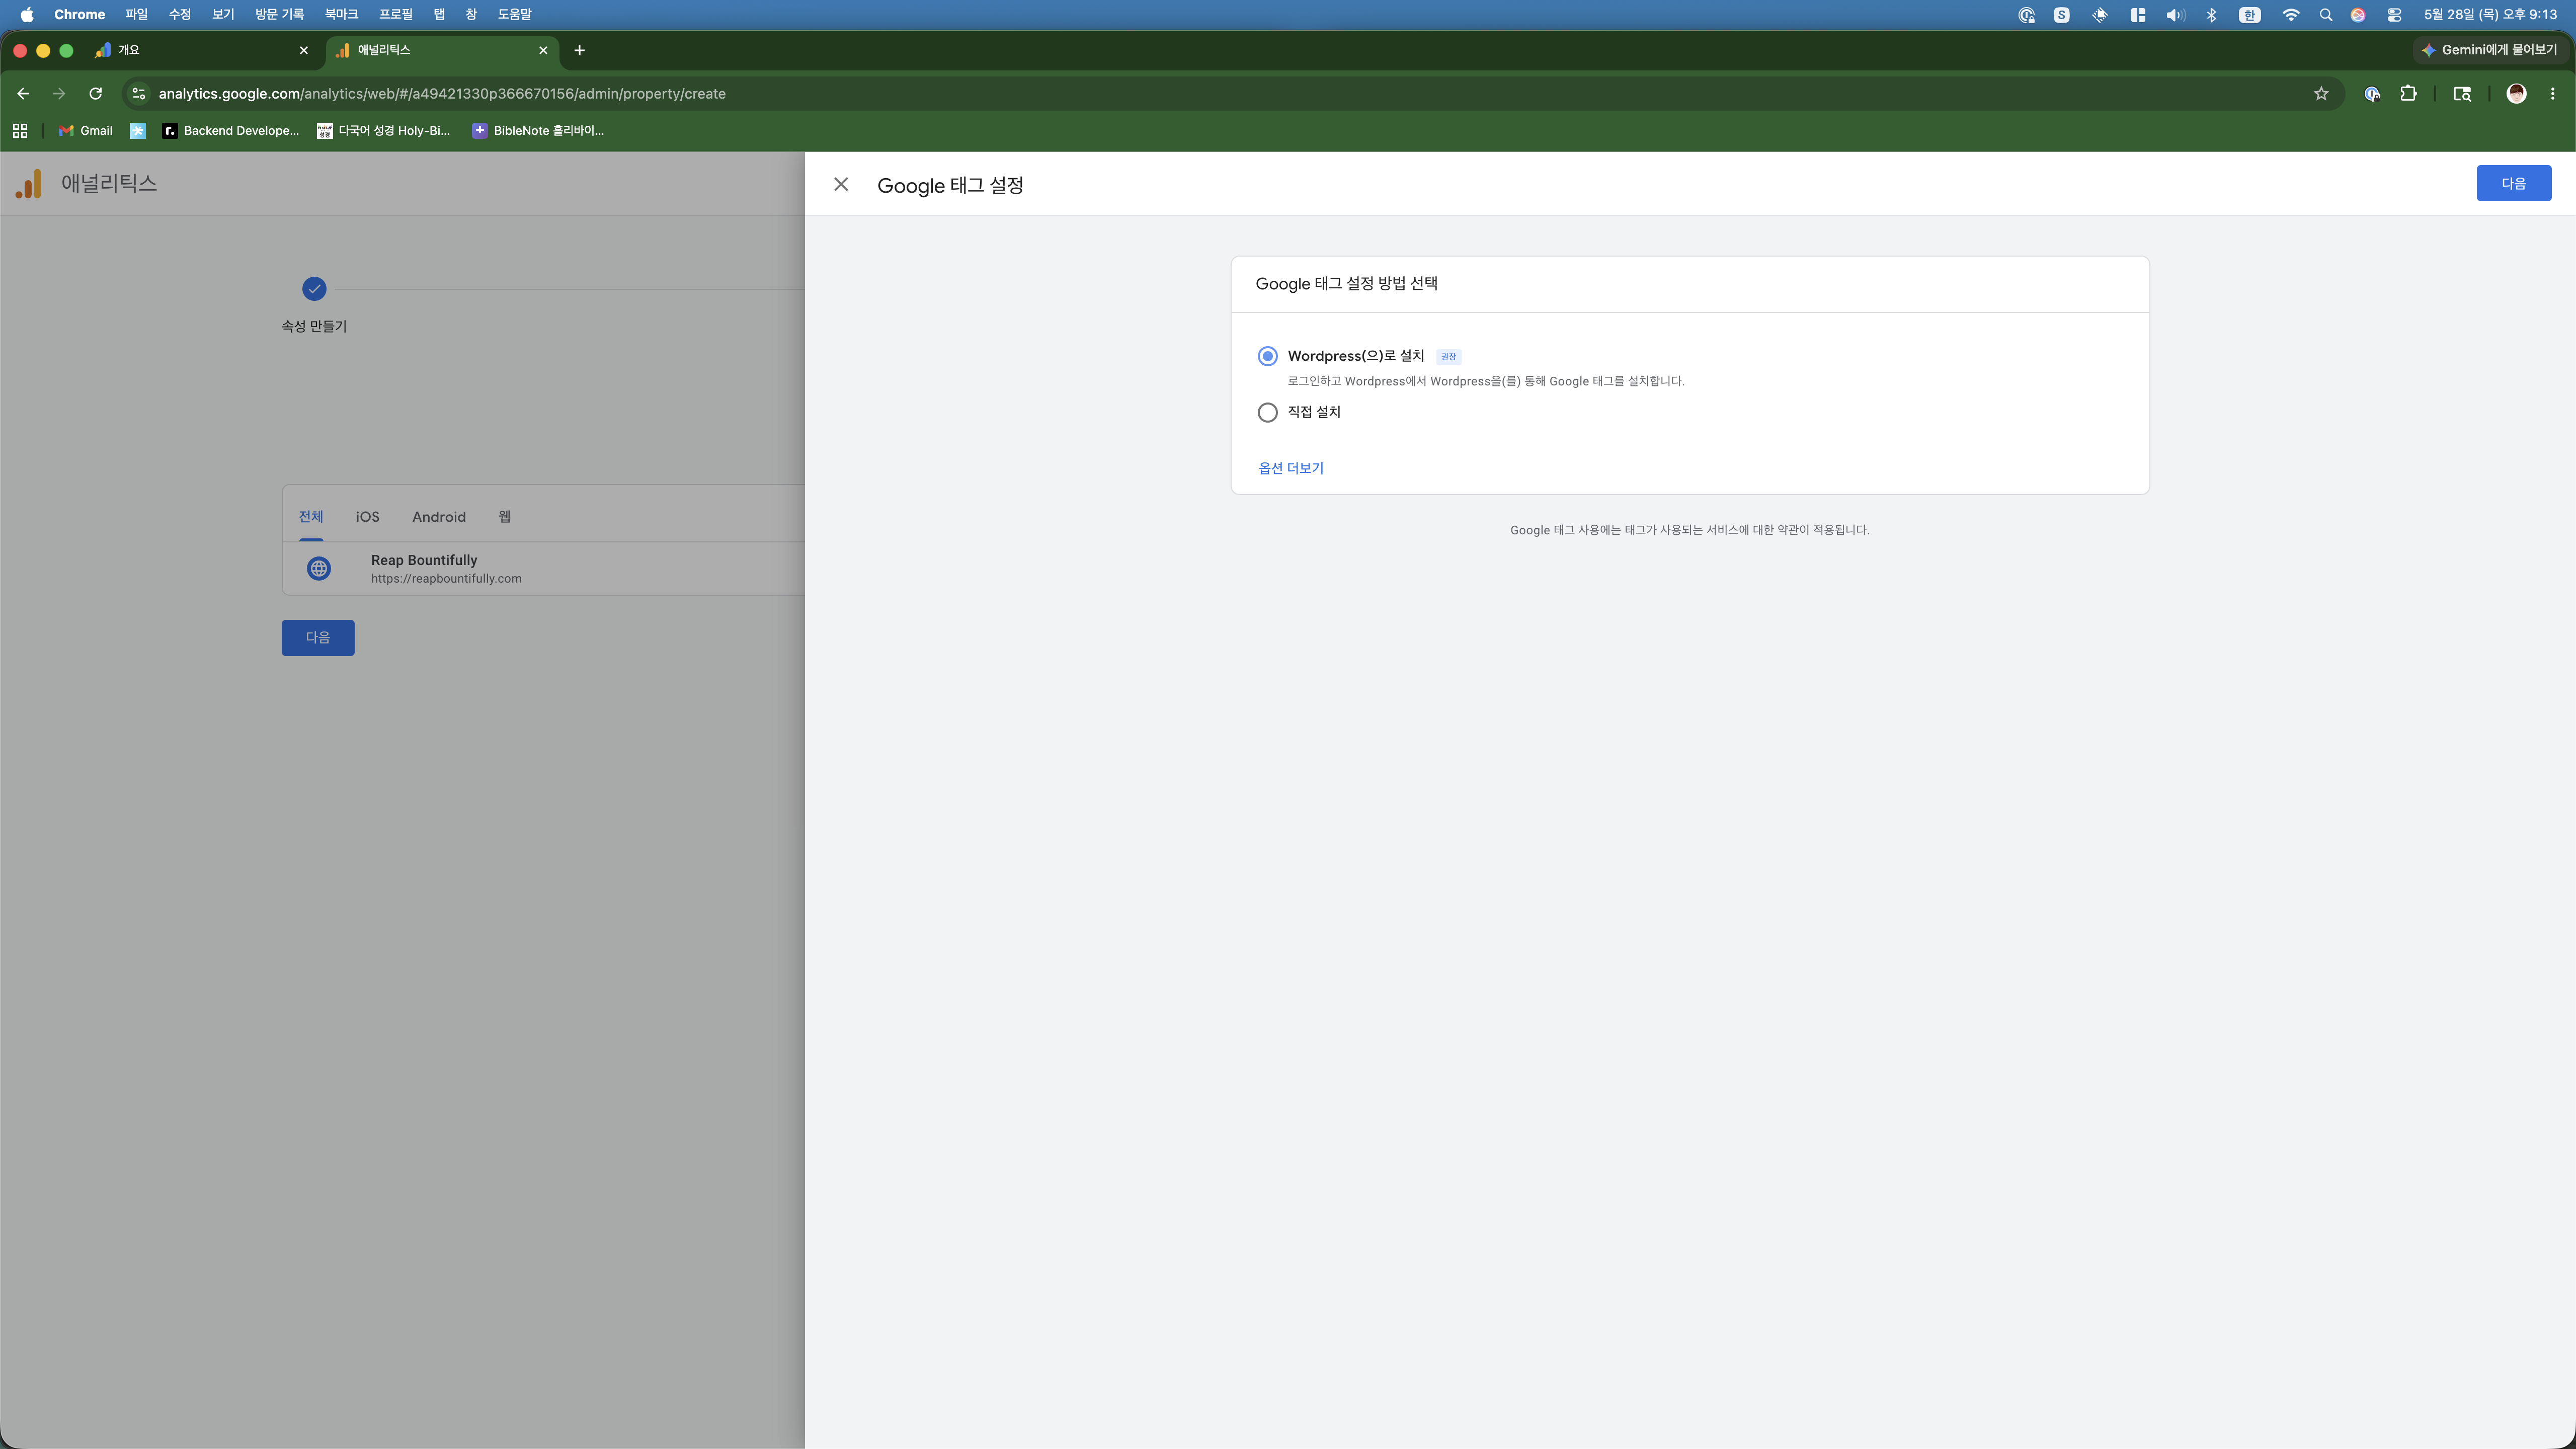
Claude told me to select “Install manually” and just give it the measurement ID. I sent the code snippet that Google provided, and Claude did the rest — it SSH-ed into the server, created a must-use plugin file that injects the Google Analytics code into every page header, and verified it was working by checking the site’s HTML output.
The whole server-side installation took about 30 seconds. I did not touch a single file.
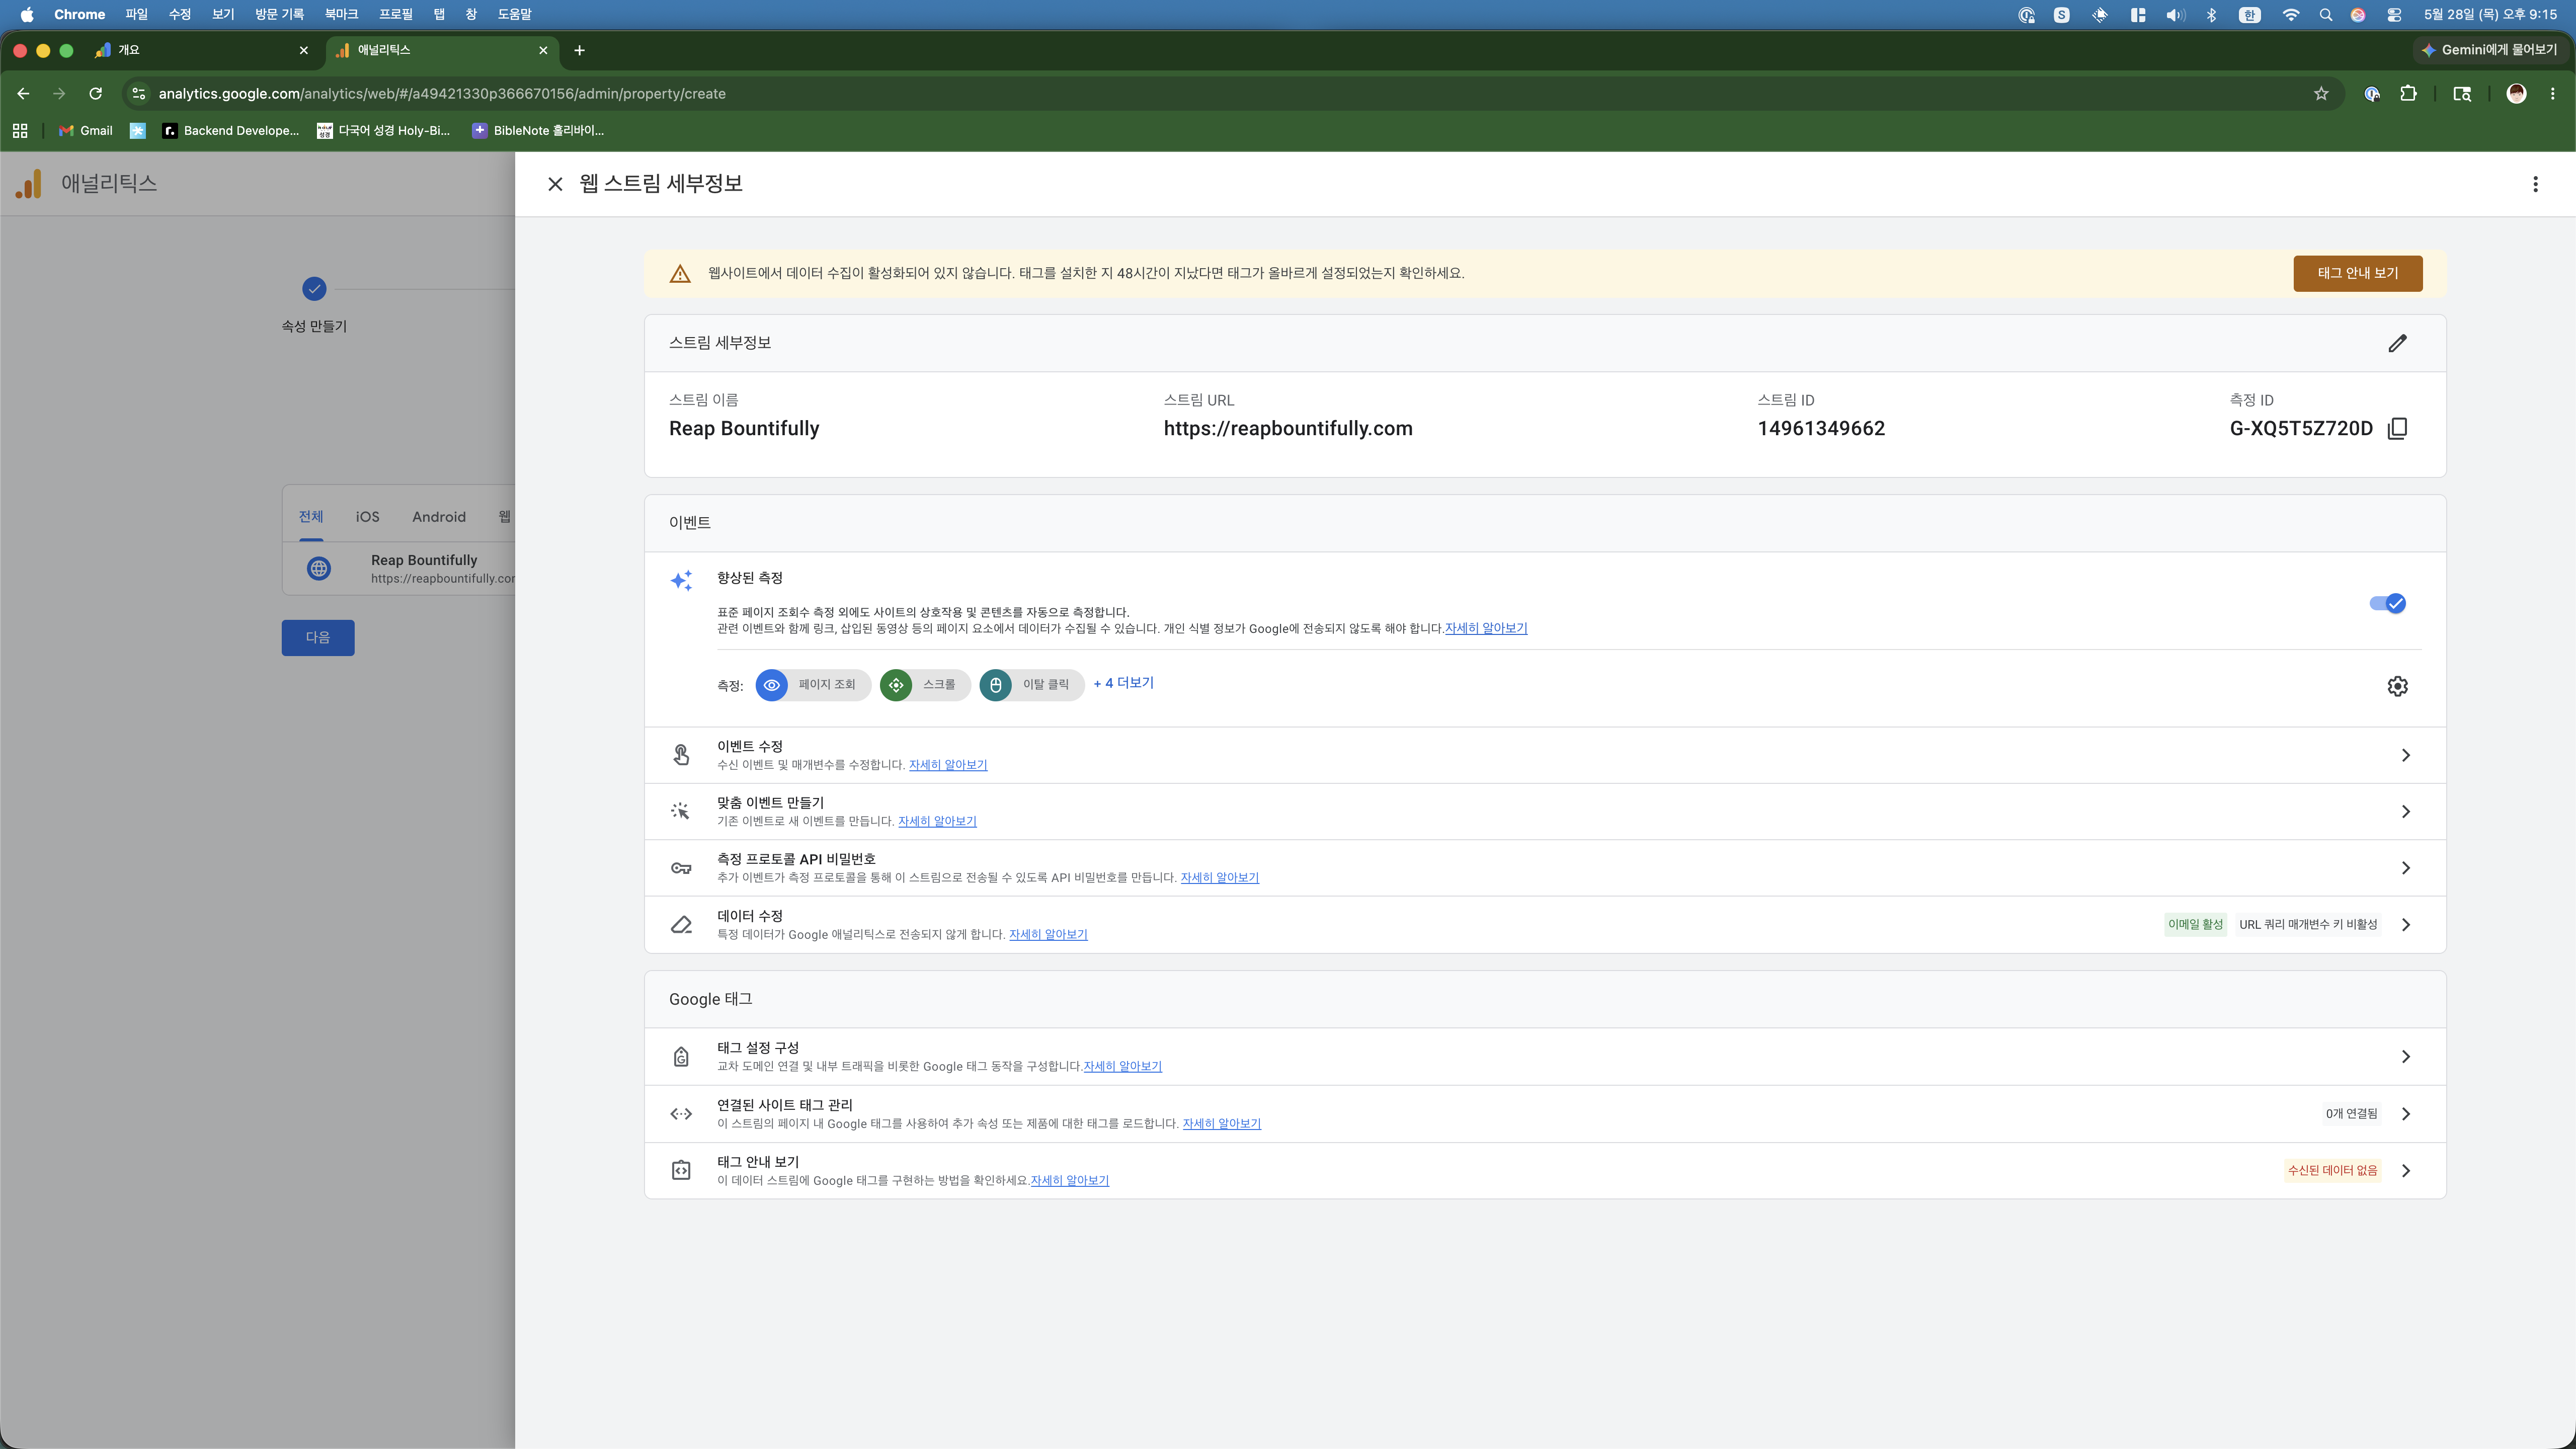
Google showed a warning saying “data collection is not active yet,” but Claude explained this is normal — it takes up to 48 hours for Google to confirm the tag is working. The code was already verified on the site.
What Google Analytics Will Tell Me
Once data starts flowing (within a day or two), I will be able to see:
- Real-time visitors — who is on the site right now
- Page views — which posts are getting read
- Traffic sources — Google search, direct, social media, etc.
- Geographic data — which countries my readers are from
- Engagement metrics — how long people spend on each post
This matters for two reasons. First, I need to understand what content resonates so I can write more of it. Second, when I apply for AdSense, having traffic data to reference will help me plan realistic expectations for ad revenue.
The Complete Analytics Stack (So Far)
| Tool | What It Tracks | Cost |
|---|---|---|
| Google Search Console | Search rankings, impressions, clicks, indexing | Free |
| Google Analytics | Visitors, page views, traffic sources, engagement | Free |
| Server logs (Nginx) | Raw access data (mostly useful for debugging) | Free |
All free. All set up by telling Claude what I needed and sending screenshots when I got stuck.
How This Post Was Made
I told Claude I wanted to document the Google Analytics setup process as a blog post. Claude asked if I had screenshots from the setup — I did, because I had been sending them during the actual installation. So the screenshots in this post are the real ones from our conversation, not recreated after the fact.
Claude wrote the draft, I asked it to emphasize the back-and-forth process (as always), and it published directly to WordPress. This post was also scheduled for automatic publication — I just said when I wanted it to go live, and Claude set the date via the server.
This post was written with Claude AI. I provided the direction, topic, and screenshots in Korean — Claude turned it into the article you just read.