My blog is 12 days old. I have 30+ published posts, $0 in revenue, and maybe 5 visitors a day on a good day.
Most advice you’ll find online says: “Wait at least 3-6 months before applying for Google AdSense.” Some say you need thousands of visitors. Others say you need 50+ posts. The numbers vary, but the message is consistent — you’re not ready yet.
I decided to apply anyway.
Here’s my logic: the worst that can happen is a rejection. And if I get rejected, that becomes a blog post too. Either way, I win content. So today — June 9, 2026, day 12 of running reapbountifully.com — I’m walking you through exactly what the application process looks like.
This is Part 1 of 2. In this post, I’ll cover reactivating my old AdSense account and connecting my new site. In Part 2, I’ll show the actual code insertion and review submission.
The Ghost of Side Projects Past
Here’s a fun detail: I already had a Google AdSense account.
Years ago, I started a blog called plantingplenty.com. It was supposed to be my big side hustle. I set up WordPress, connected AdSense, wrote maybe three posts… and then life happened. The domain expired. The blog died. The AdSense account sat there collecting digital dust.
If you’re a developer, you know this story. We all have a graveyard of abandoned side projects. Repos with one commit. Domains we bought at 2 AM. Apps that never made it past the landing page.
So when I went to adsense.google.com, I wasn’t greeted with a fresh signup page. Instead, I saw this:
“활동이 없는 애드센스 계정이 비활성화되었습니다”
Translation: “Your AdSense account has been deactivated due to inactivity.”
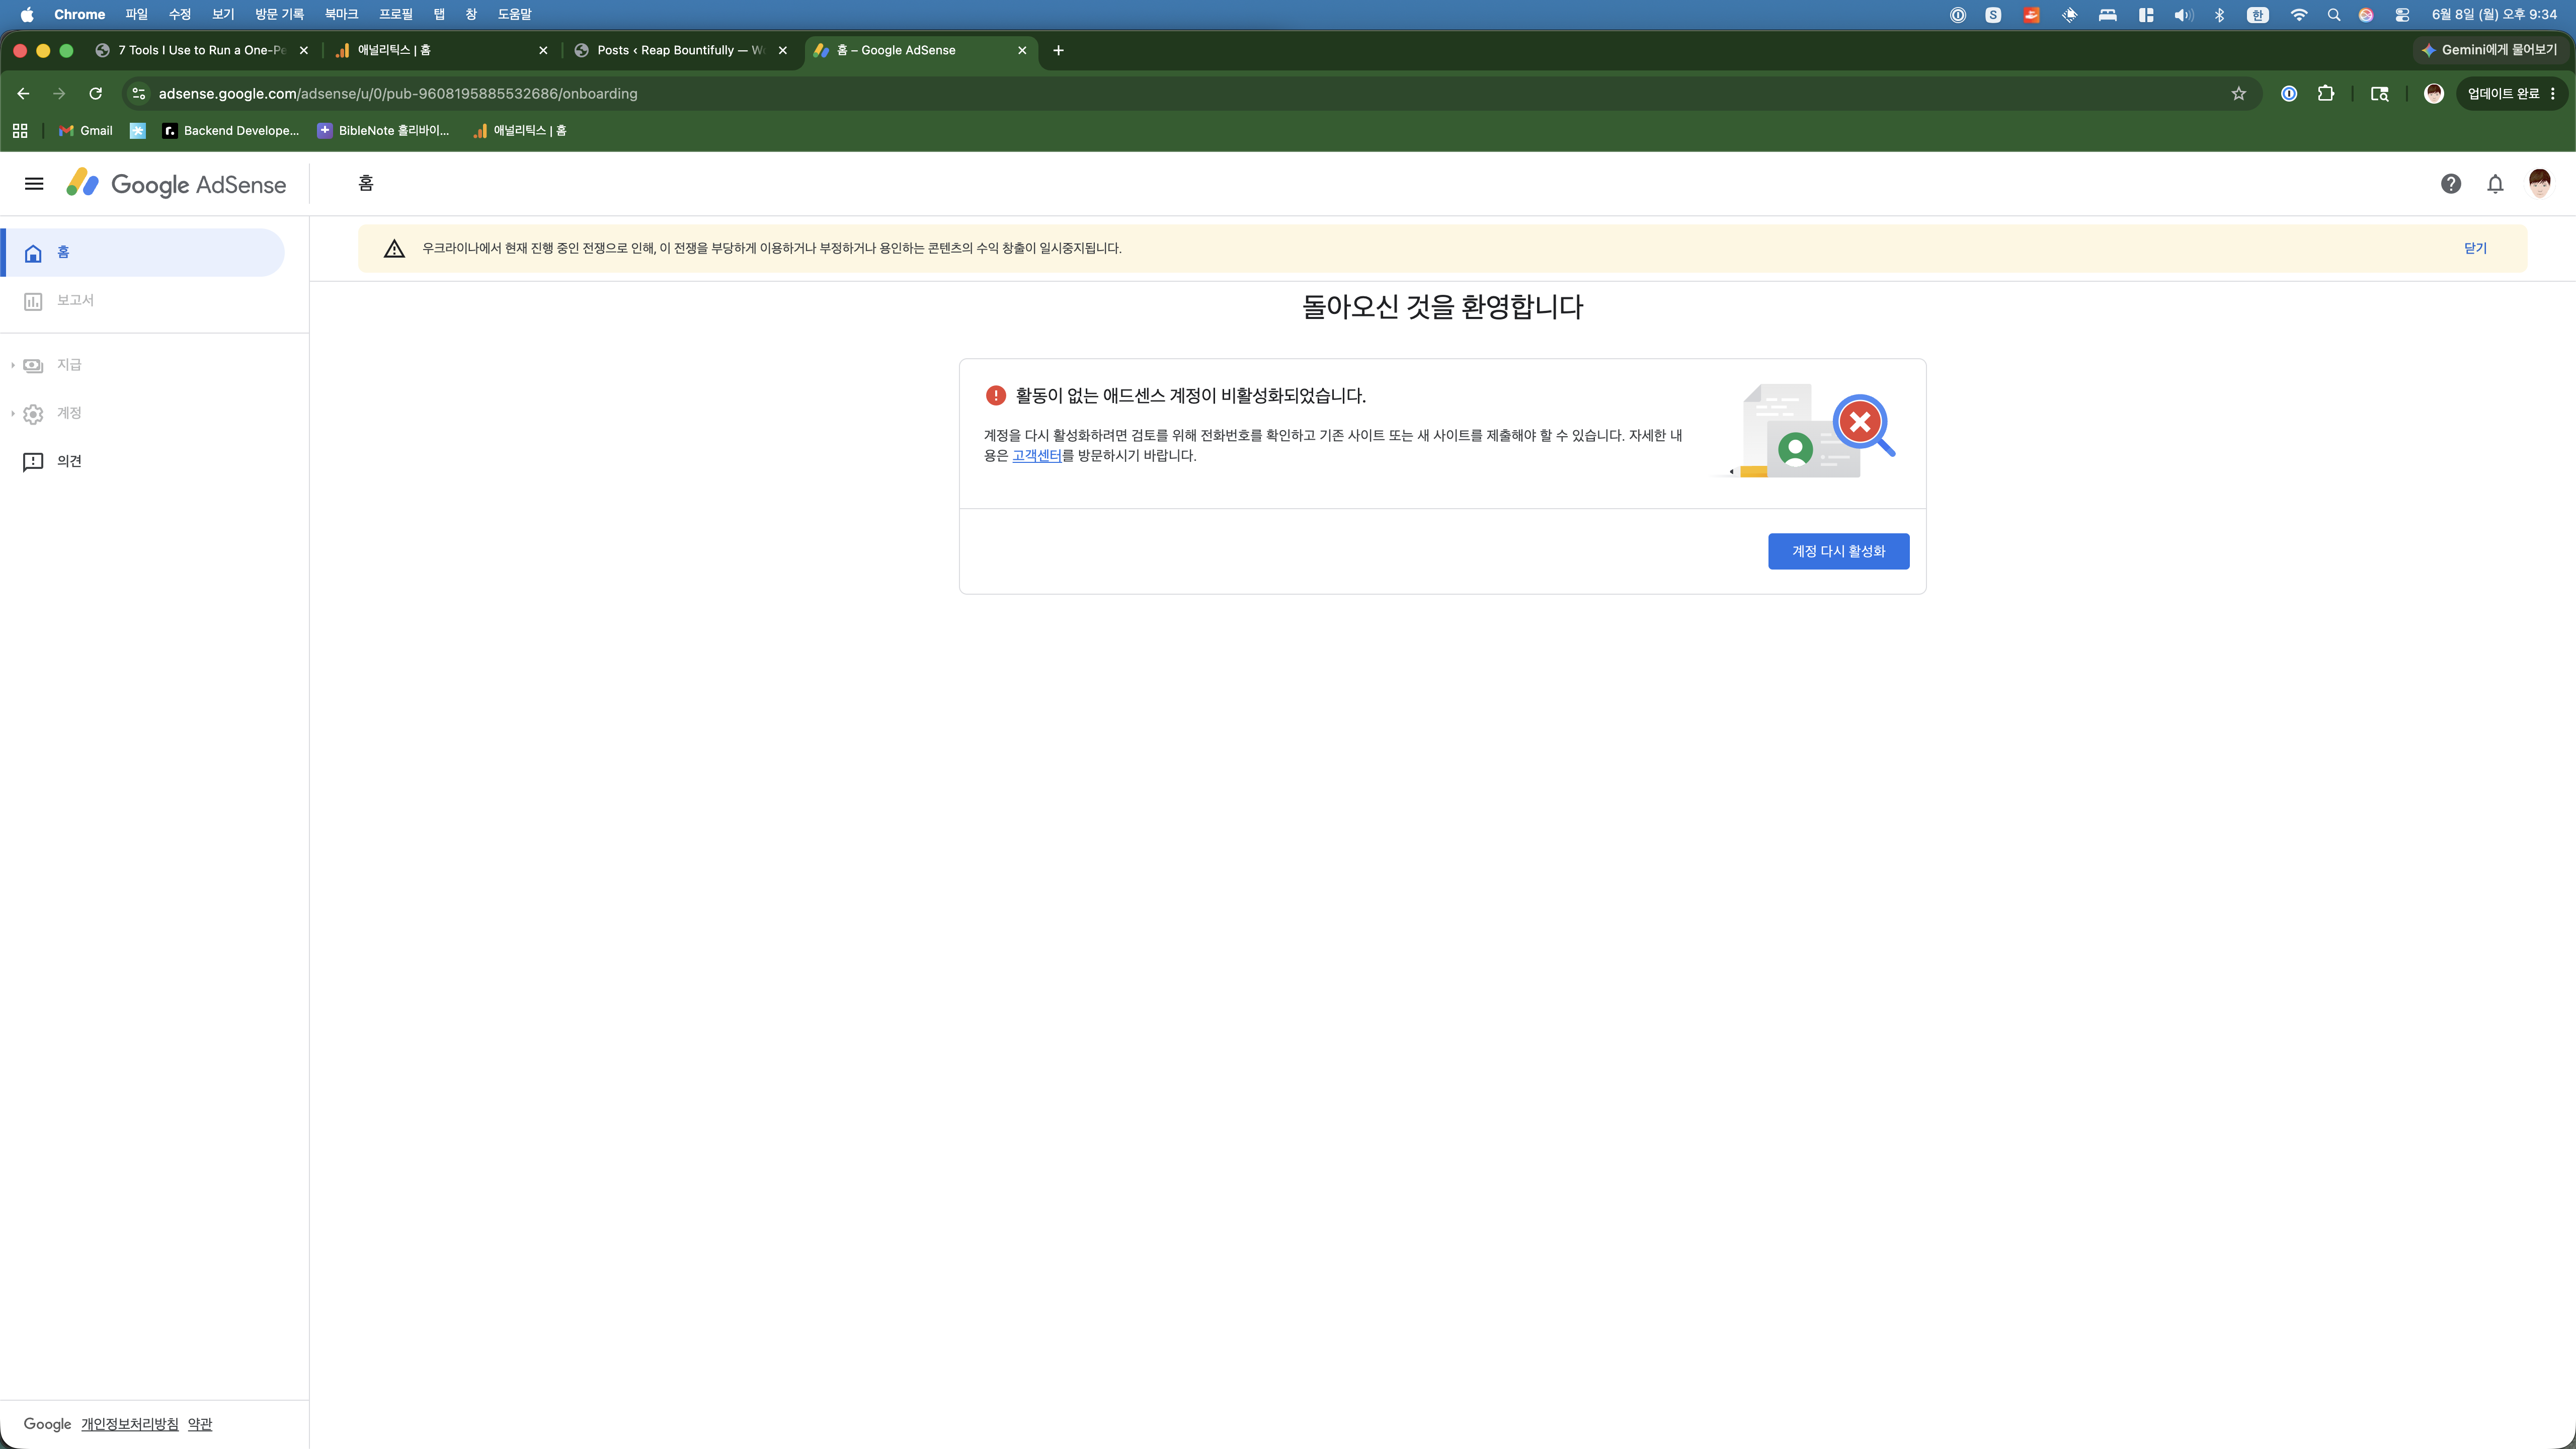
There was a button: “계정 다시 활성화” (Reactivate Account). I clicked it. That was step one.
The AdSense Dashboard: Three Steps to Go
After reactivation, Google walked me through a three-step onboarding process:
- ✅ Payment info — Already verified from my old account. One benefit of having an abandoned project, I guess.
- Ads — Preview how ads would look on my site. This was optional and mostly cosmetic.
- ⚠️ Site — Connect and verify my website. This was the important one.
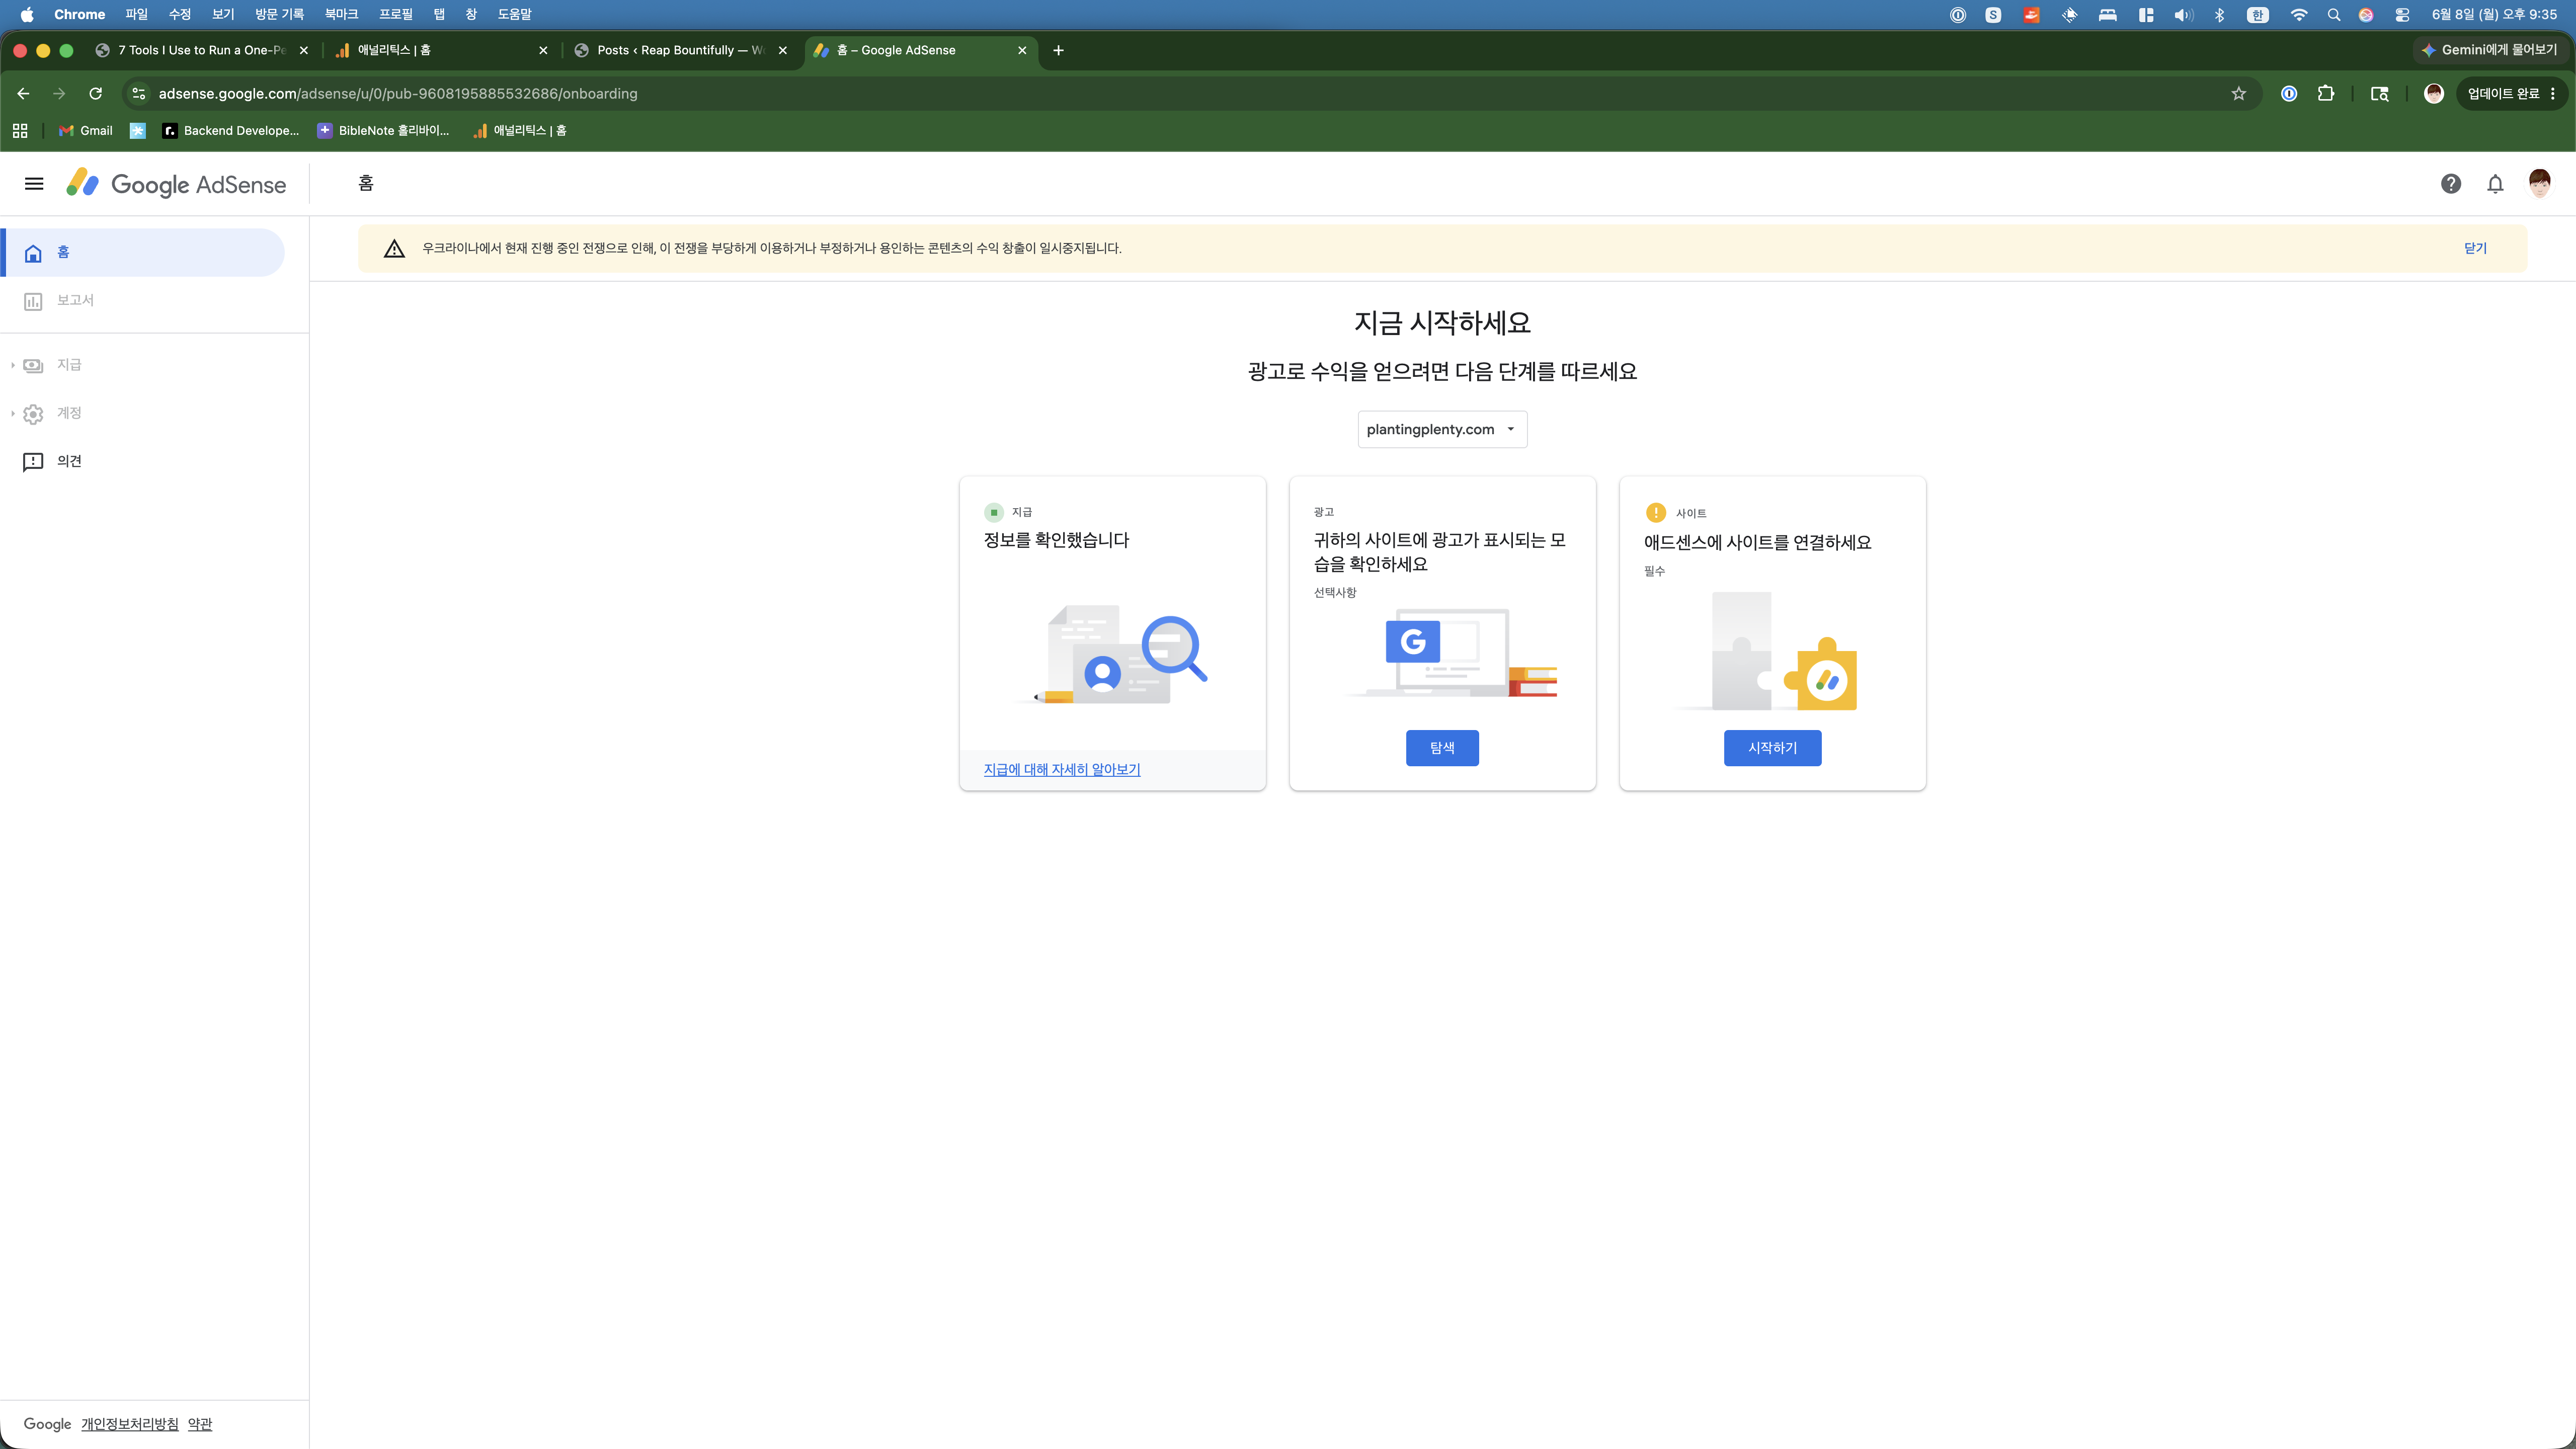
The problem? The dashboard still showed plantingplenty.com as my connected site. A domain that no longer exists. I needed to swap it out for reapbountifully.com.
Adding the New Site
I clicked on the site dropdown where it showed plantingplenty.com, and got two options:
- “+ 다른 사이트 추가” — Add another site
- “이 사이트 삭제하기” — Delete this site
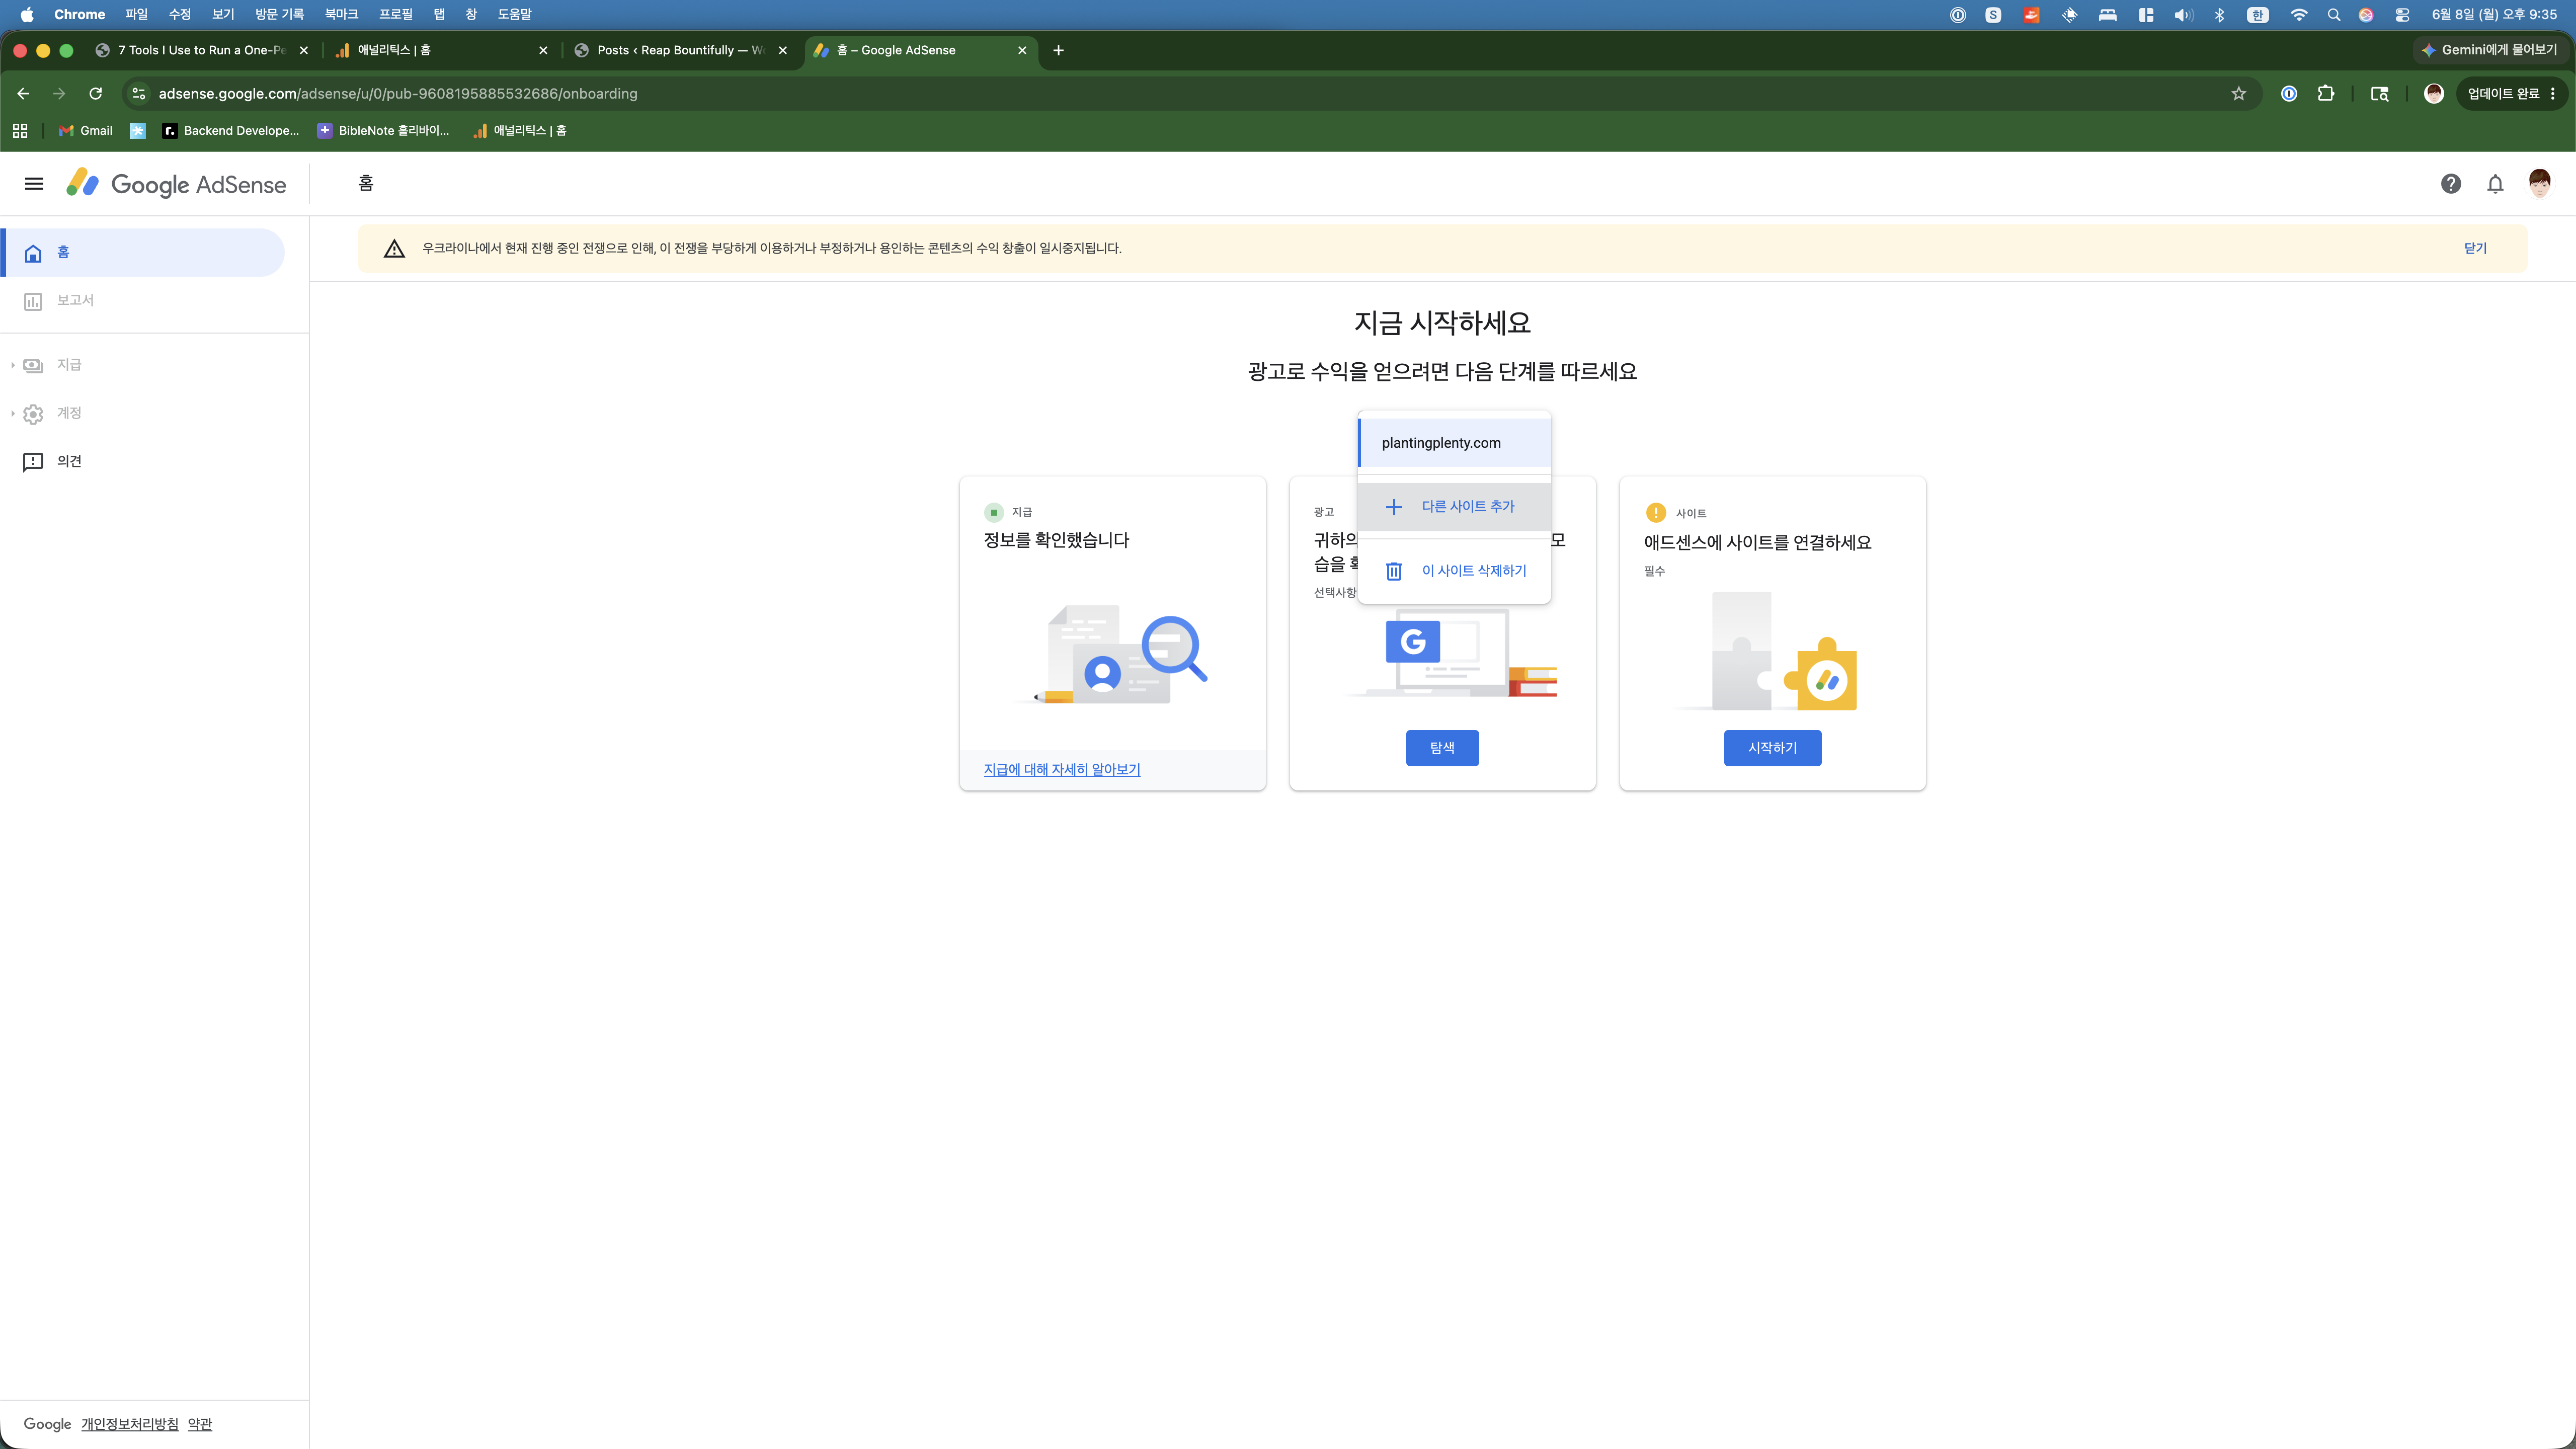
I added reapbountifully.com. The process was straightforward — just type in the domain and click add. No verification needed at this step (that comes later).
Site Connected: reapbountifully.com
After adding the new domain, the dashboard updated to show reapbountifully.com instead of the old site:
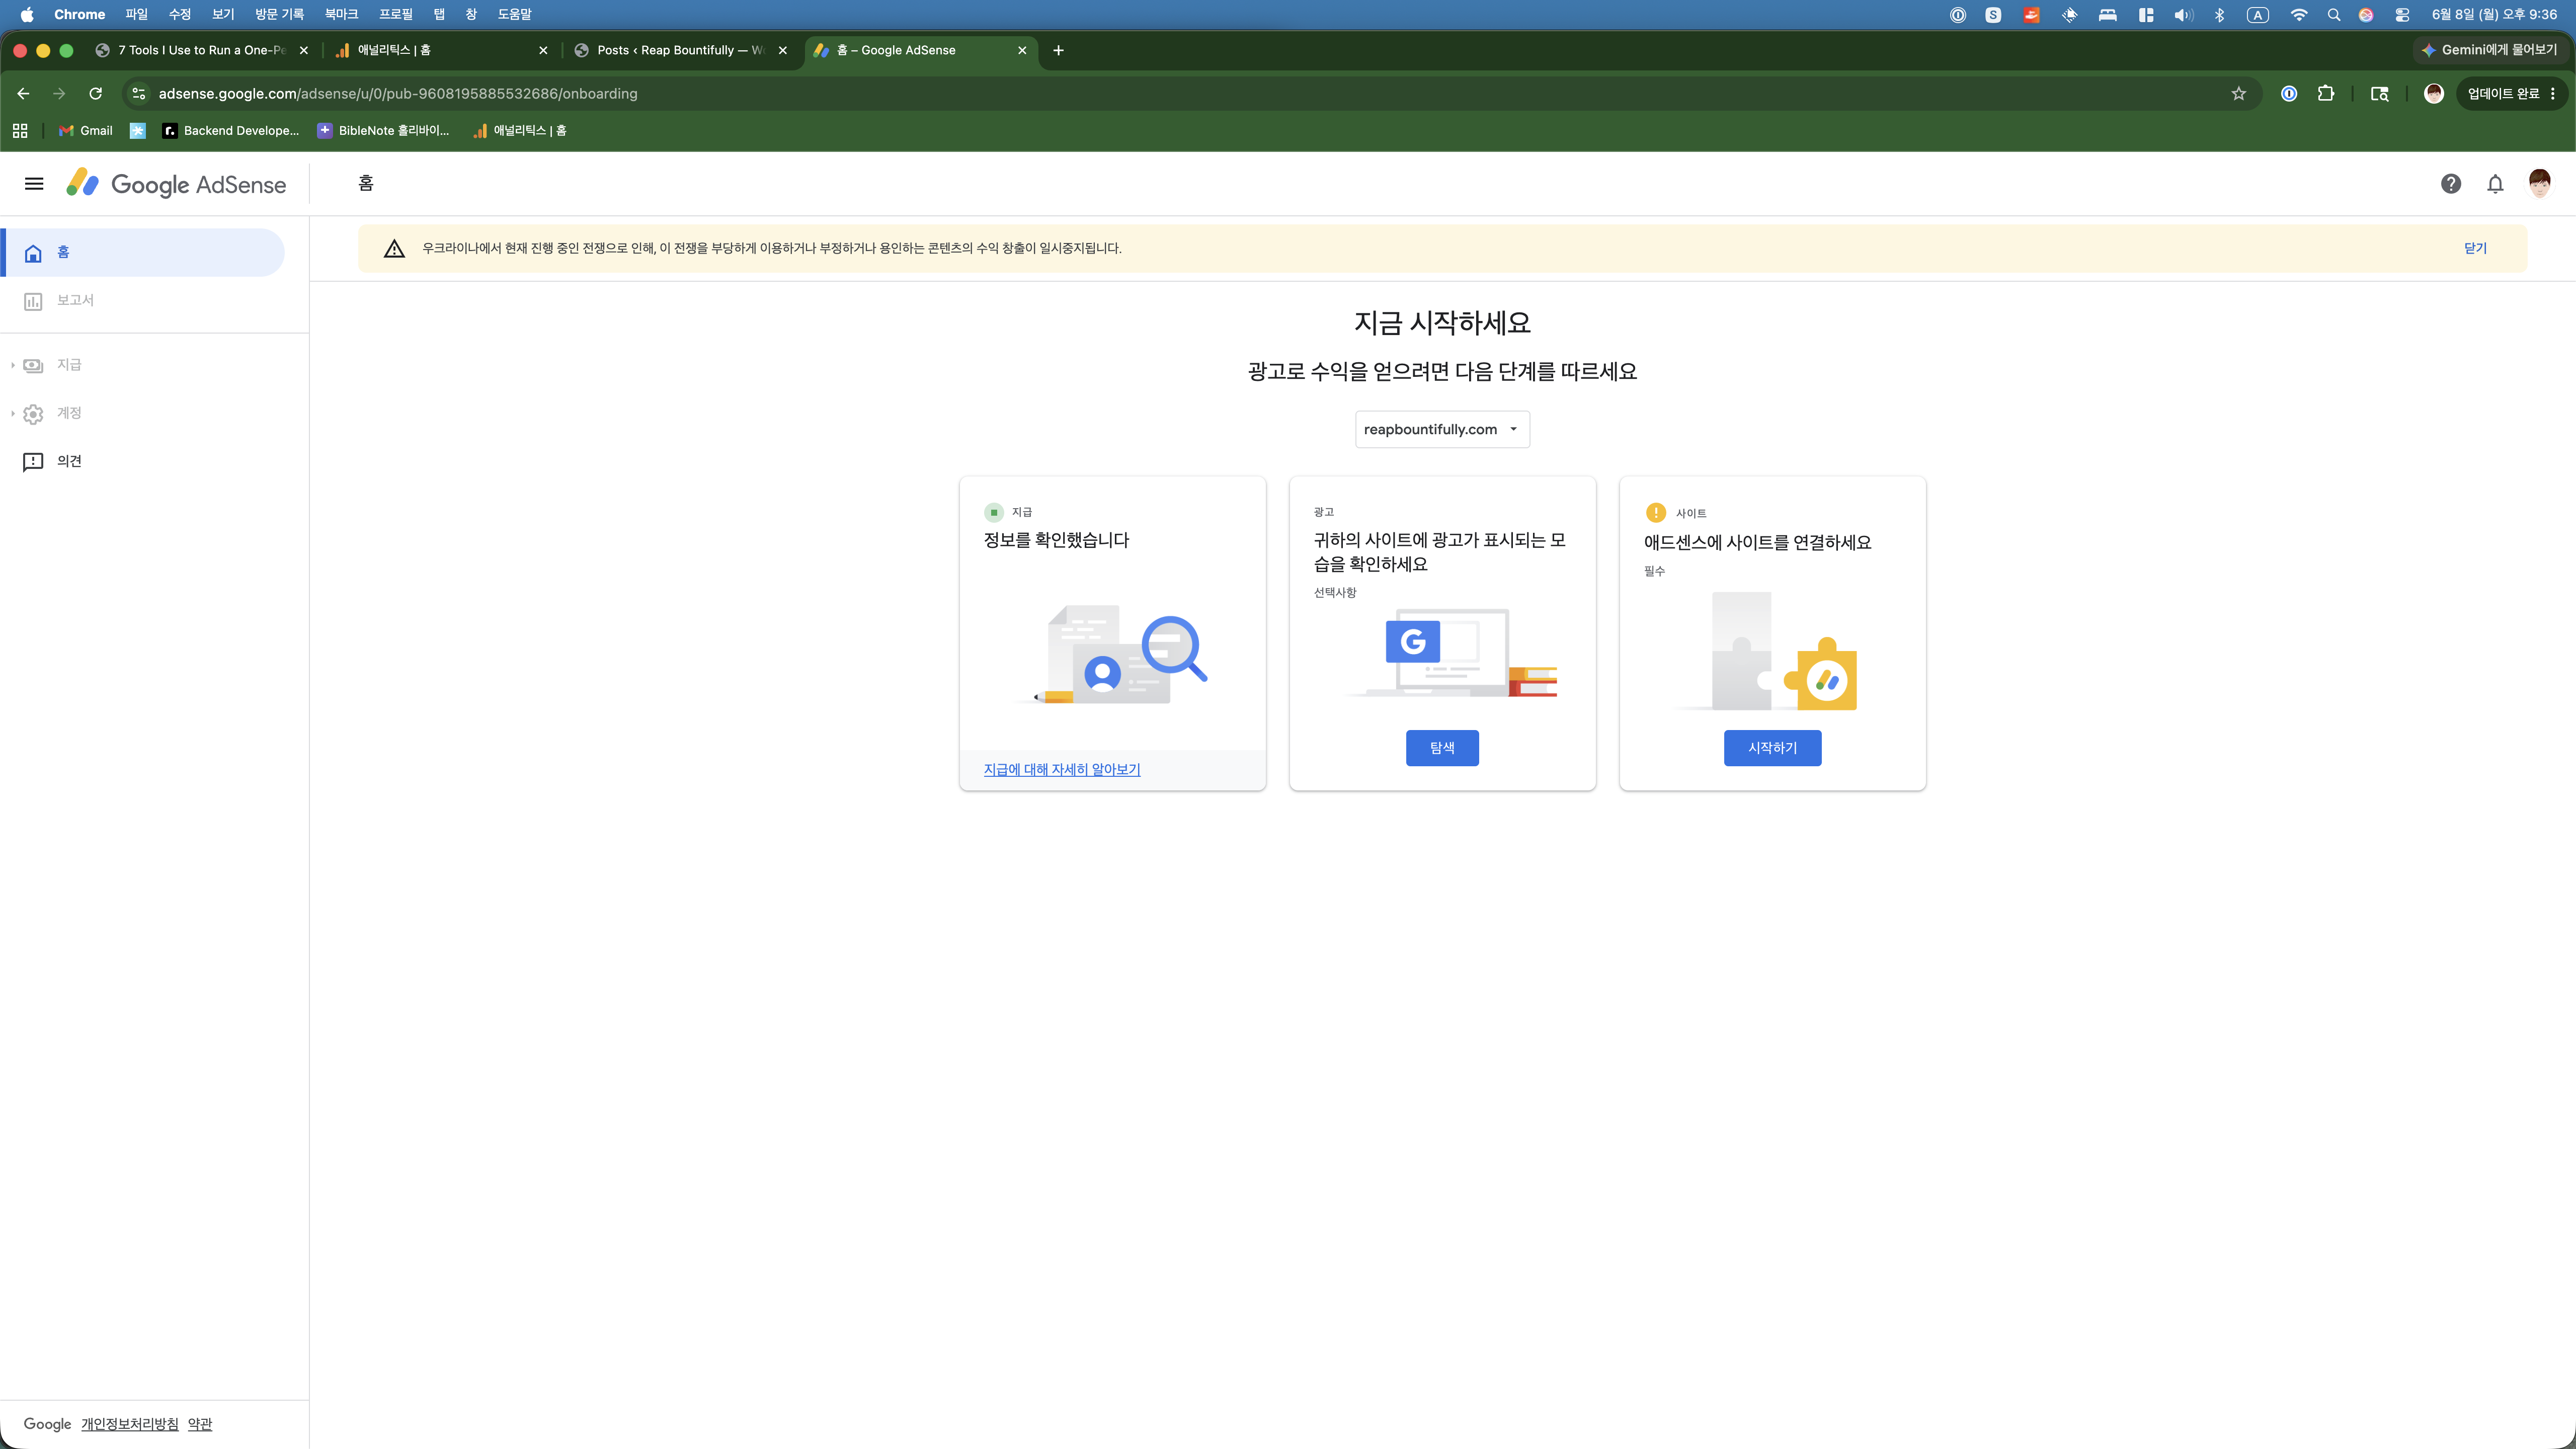
The three steps remained the same, but now they were pointing at the right site. Payment info was still verified. The ads preview was still optional. And the site connection now showed my actual, living blog instead of a dead domain.
Progress.
Why I’m Applying “Too Early”
Let me address the elephant in the room. Twelve days is early. Five visitors a day is nothing. Most AdSense guides would tell me to wait.
But here’s what I keep coming back to:
- There’s no penalty for rejection. Google doesn’t blacklist you for applying too early. You just fix whatever they flag and reapply.
- The feedback is valuable. If they reject me, they’ll tell me why. That’s free consulting on what my blog needs to improve.
- It sets a real milestone. Having a concrete goal — “get AdSense approved” — keeps me focused in a way that “just keep writing” doesn’t.
- It makes a great blog post. Whether I’m approved or rejected, documenting the process is genuinely useful content for other new bloggers.
The worst case scenario is a rejection email that says “come back when you have more traffic.” And honestly? That’s fine. I’ll come back.
What’s Next: Part 2
At this point, I had my AdSense account reactivated and my new site connected. But the actual work was still ahead — inserting the AdSense verification code into my WordPress site and submitting for review.
In Part 2, I’ll show you exactly how I did that — via SSH, directly on the server, no plugins needed. Spoiler: it took about 5 minutes. I’ll also cover what happens after you hit “Submit for review” and what the waiting game looks like.
Stay tuned. And if you’re thinking about applying for AdSense on your own new blog — just do it. The worst that happens is you get a story to tell.
How This Post Was Made
I screenshotted every step of the AdSense application process and asked Claude to turn it into a blog post. The irony of writing a blog post about monetizing a blog that has zero revenue is not lost on me.
But that’s the whole point of this blog — documenting the journey in real time, including the parts where I don’t know if it’ll work out. Every screenshot in this post is real. Every number is real. The $0 revenue is very, very real.
This post was written with AI assistance using Claude. The experiences, screenshots, and decisions described are real — the writing was structured and polished with the help of AI tools, which is kind of the whole point of this blog.