In Part 1, I reactivated my dormant Google AdSense account and added reapbountifully.com as a new site. That was the easy part — just clicking through Google’s UI. Part 2 is where the code comes in. And honestly? It was even easier.
Scene 5: The Verification Code
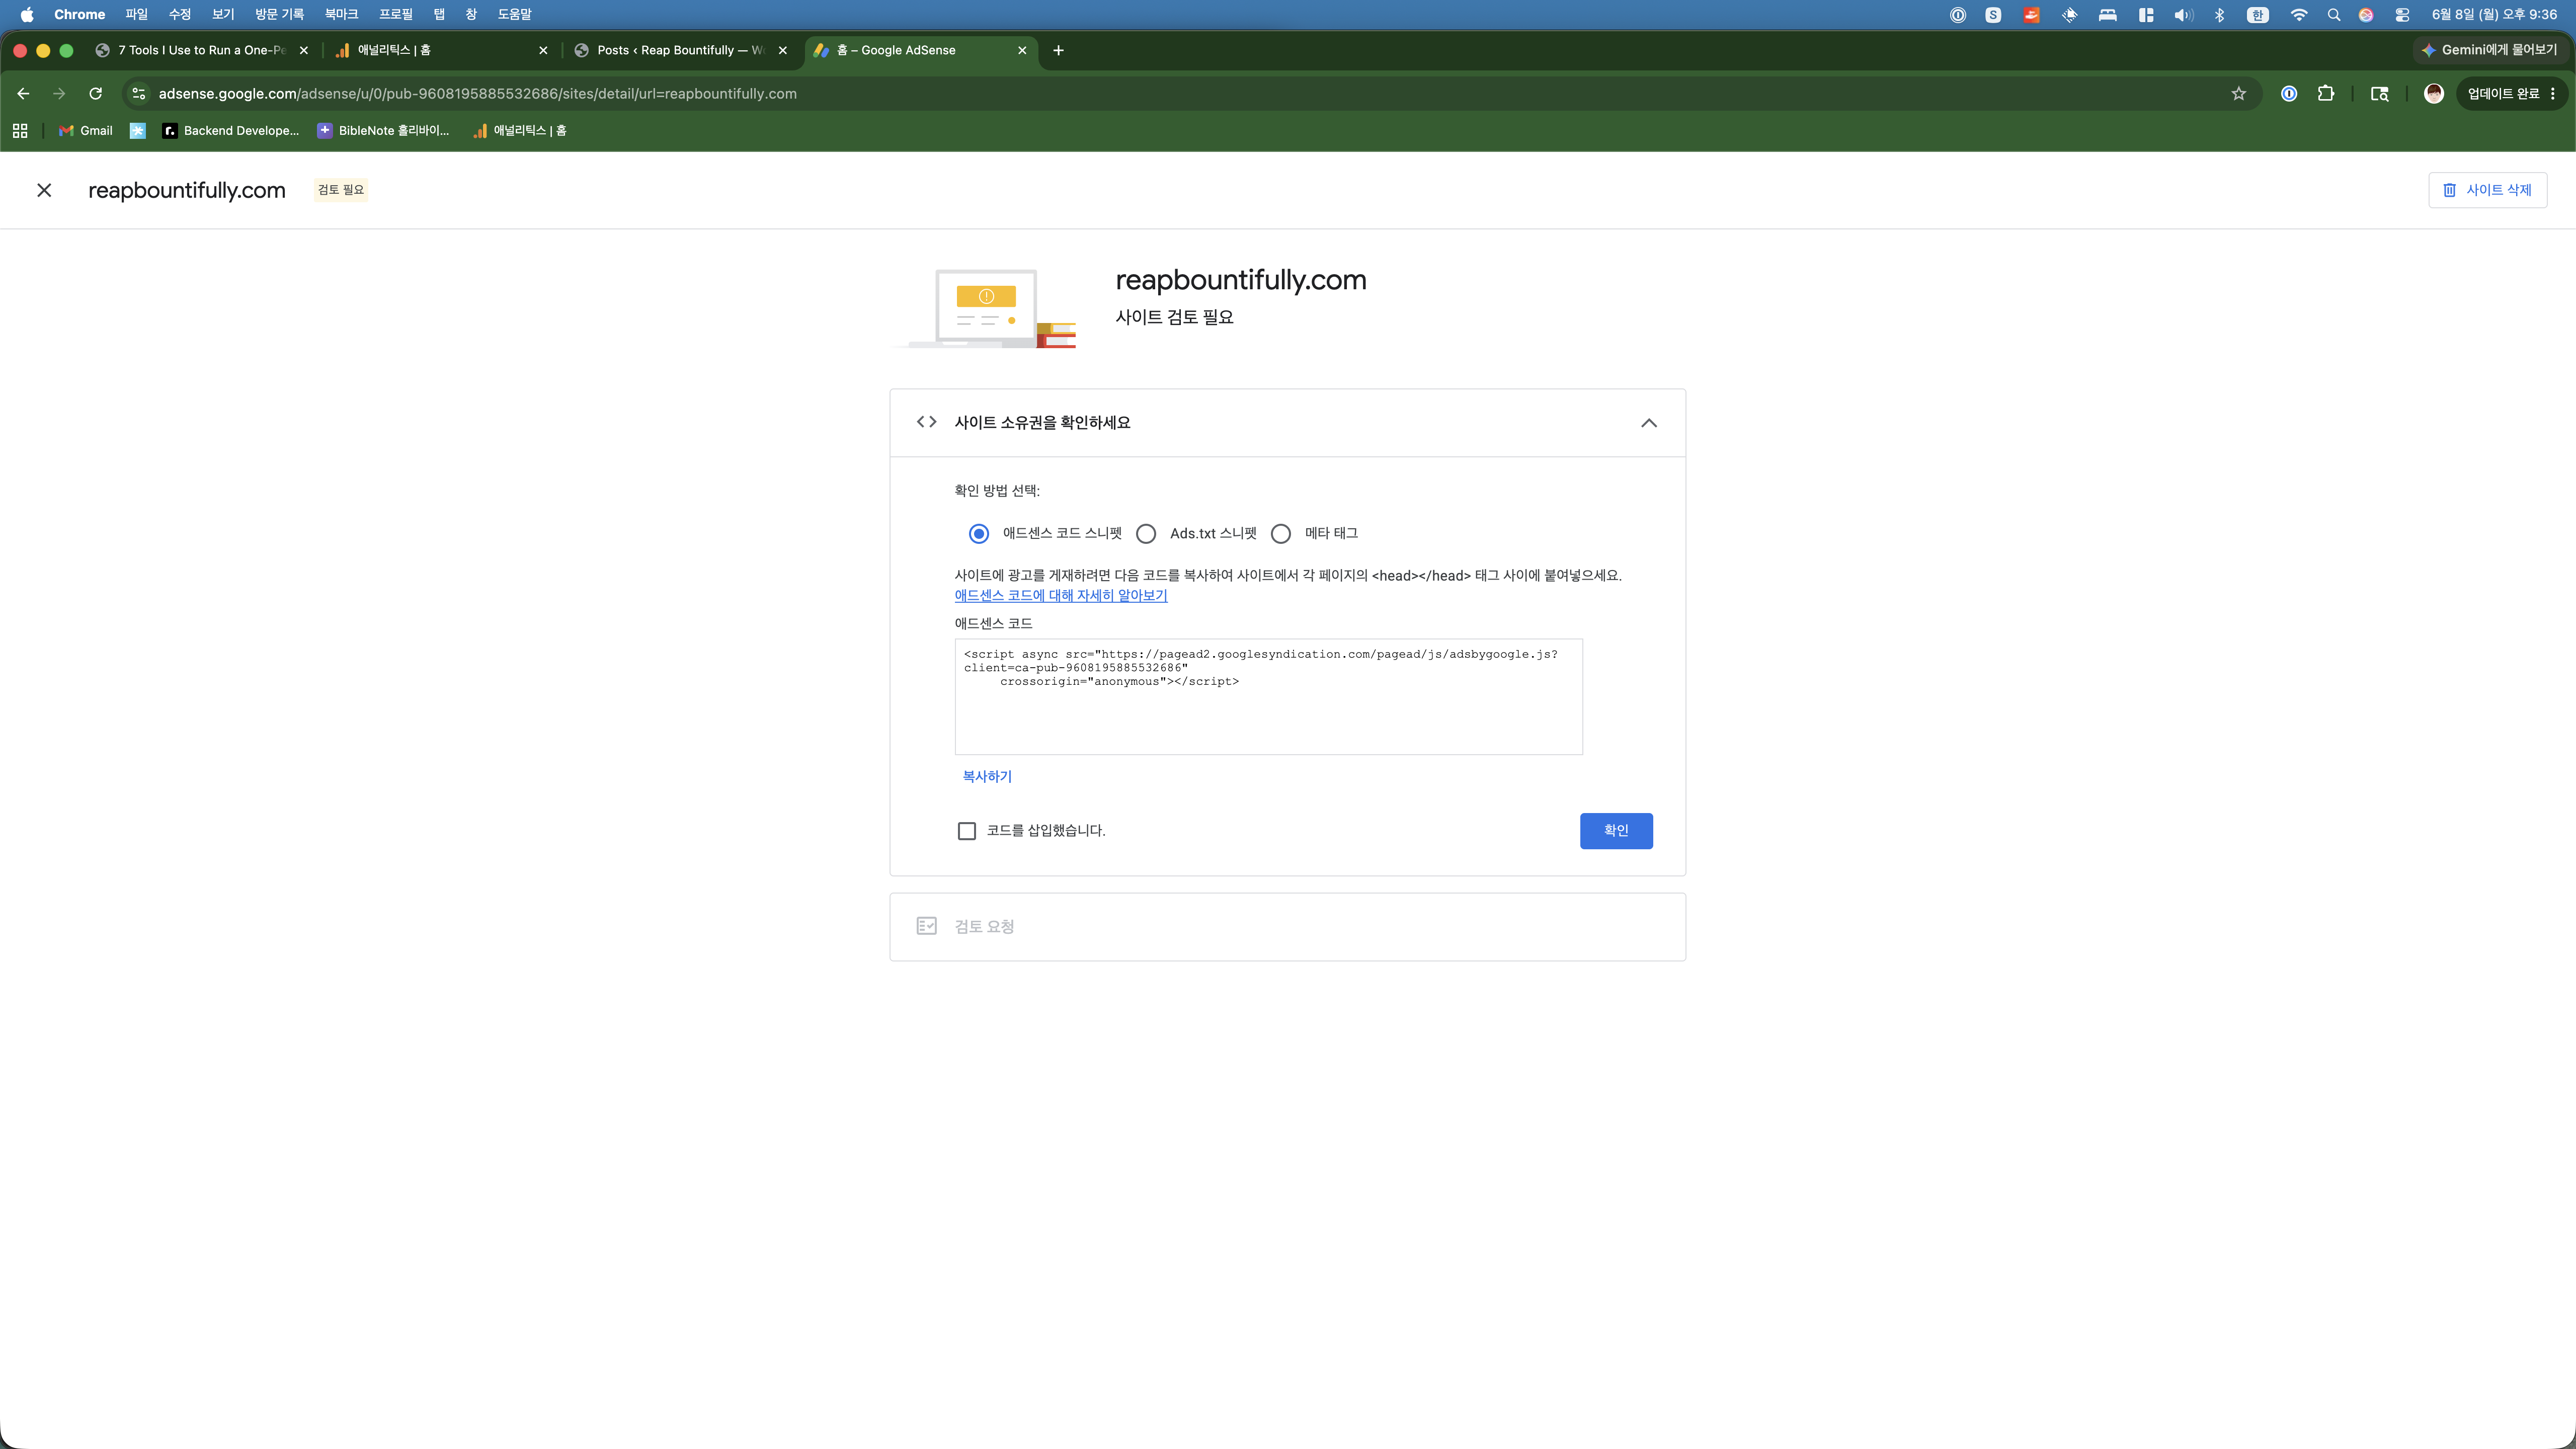
After clicking “시작하기” (Get Started) on the site connection step, Google AdSense presented me with the verification page. Three options stared back at me:
- AdSense code snippet — a script tag for your <head>
- Ads.txt snippet — a file to place in your root directory
- Meta tag — a meta element for your <head>
I chose option 1: “애드센스 코드 스니펫” (AdSense code snippet). It’s the most straightforward — one script tag that needs to live in every page’s <head> section.
How I Actually Inserted the Code (The Vibe Coding Way)
Here’s where this blog’s whole philosophy comes into play. Most WordPress tutorials will tell you to:
- Install a plugin like “Insert Headers and Footers”
- Or navigate to Appearance → Theme Editor → header.php
- Or use your theme’s built-in custom code section
I did none of that. I asked Claude Code to SSH into the server and edit the file directly.
That’s it. One command. Claude edited /var/www/wordpress/wp-content/themes/astra/header.php, inserted the AdSense script right before <?php wp_head(); ?>, and it was done. I didn’t leave my terminal. I didn’t open the WordPress admin panel. I didn’t install a single plugin.
Total time: about 10 seconds.
This is what I mean by “vibe coding as a side hustle.” The technical barriers that used to slow people down — figuring out which file to edit, where to place the code, whether you’ll break something — those barriers dissolve when you have an AI that understands the entire stack. You just say what you need, and it happens.
Scene 6: Verification Success
Back in the AdSense dashboard, I checked the “코드를 삽입했습니다” (I’ve placed the code) checkbox and clicked “확인” (Confirm).
A popup appeared almost instantly: “사이트가 확인되었습니다” — Site has been verified.
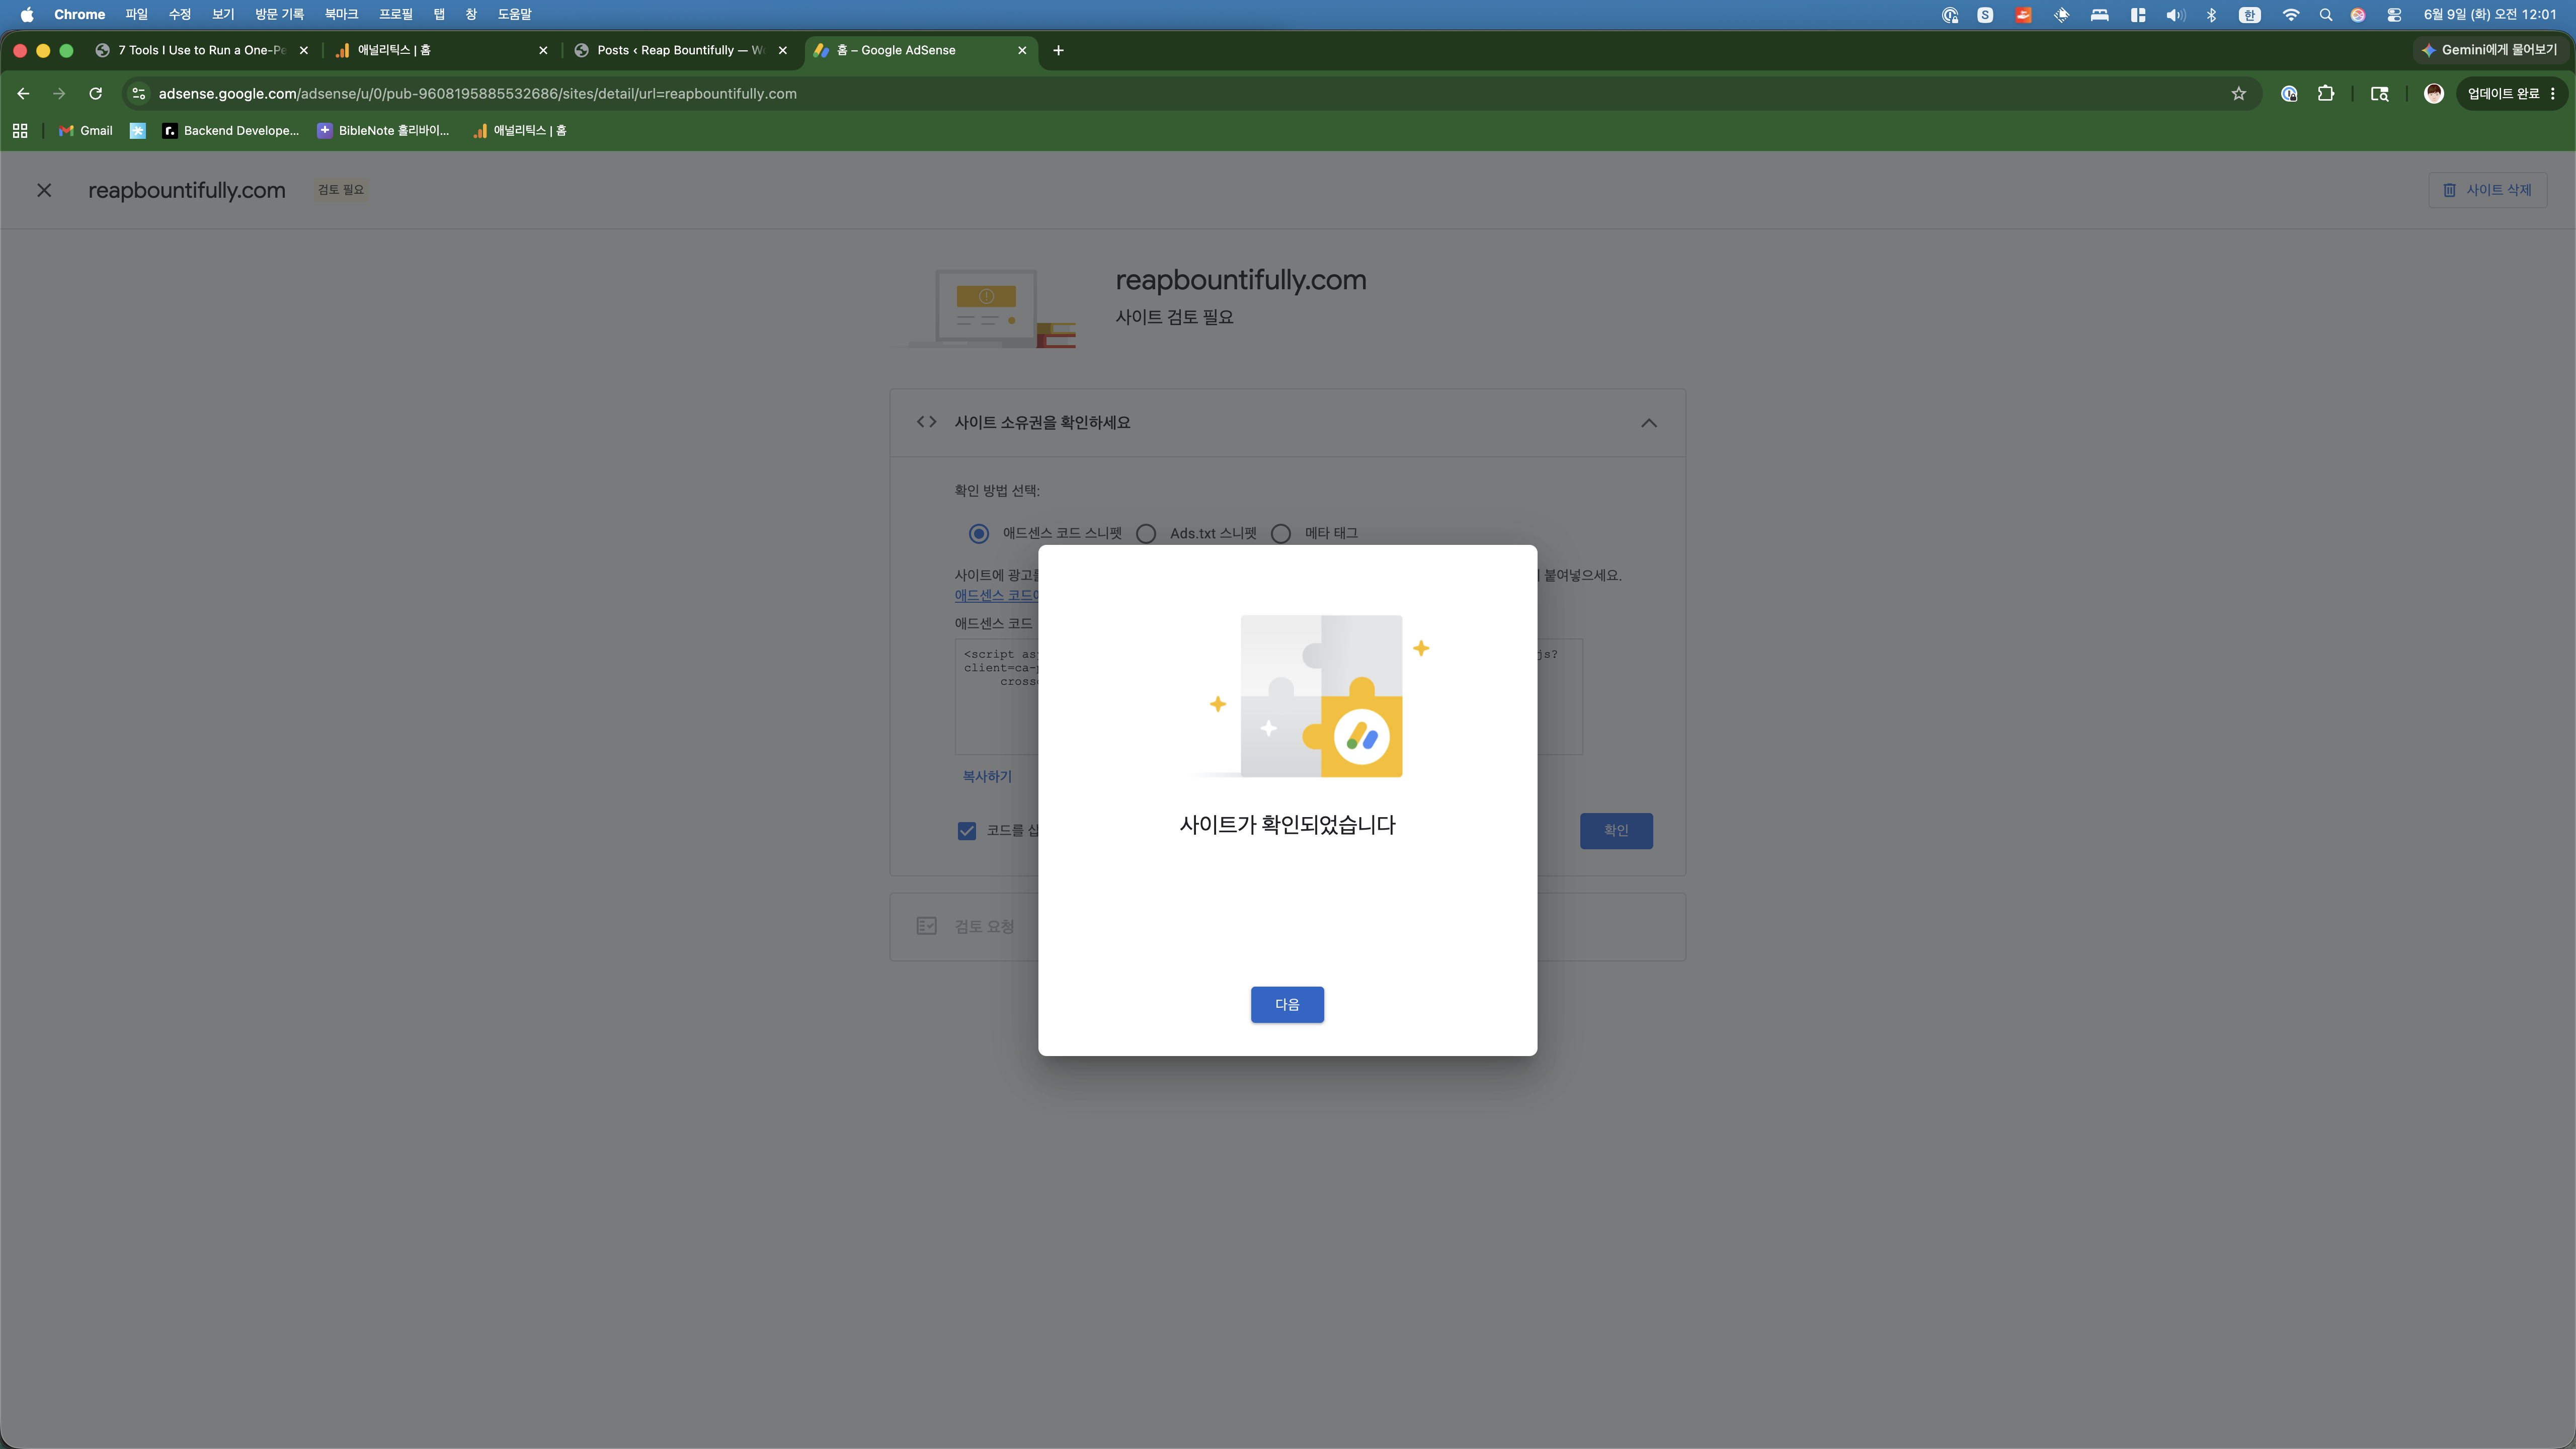
I won’t lie — seeing that green confirmation gave me a small dopamine hit. Not because it was difficult, but because it felt like progress. The code was on the site, Google could see it, and we were one step closer.
Scene 7: Requesting the Review
The next screen showed a clean progress tracker with two completed steps:
- ✅ Site ownership verified
- ✅ Review requested
And one big button: “검토 요청” (Request Review).
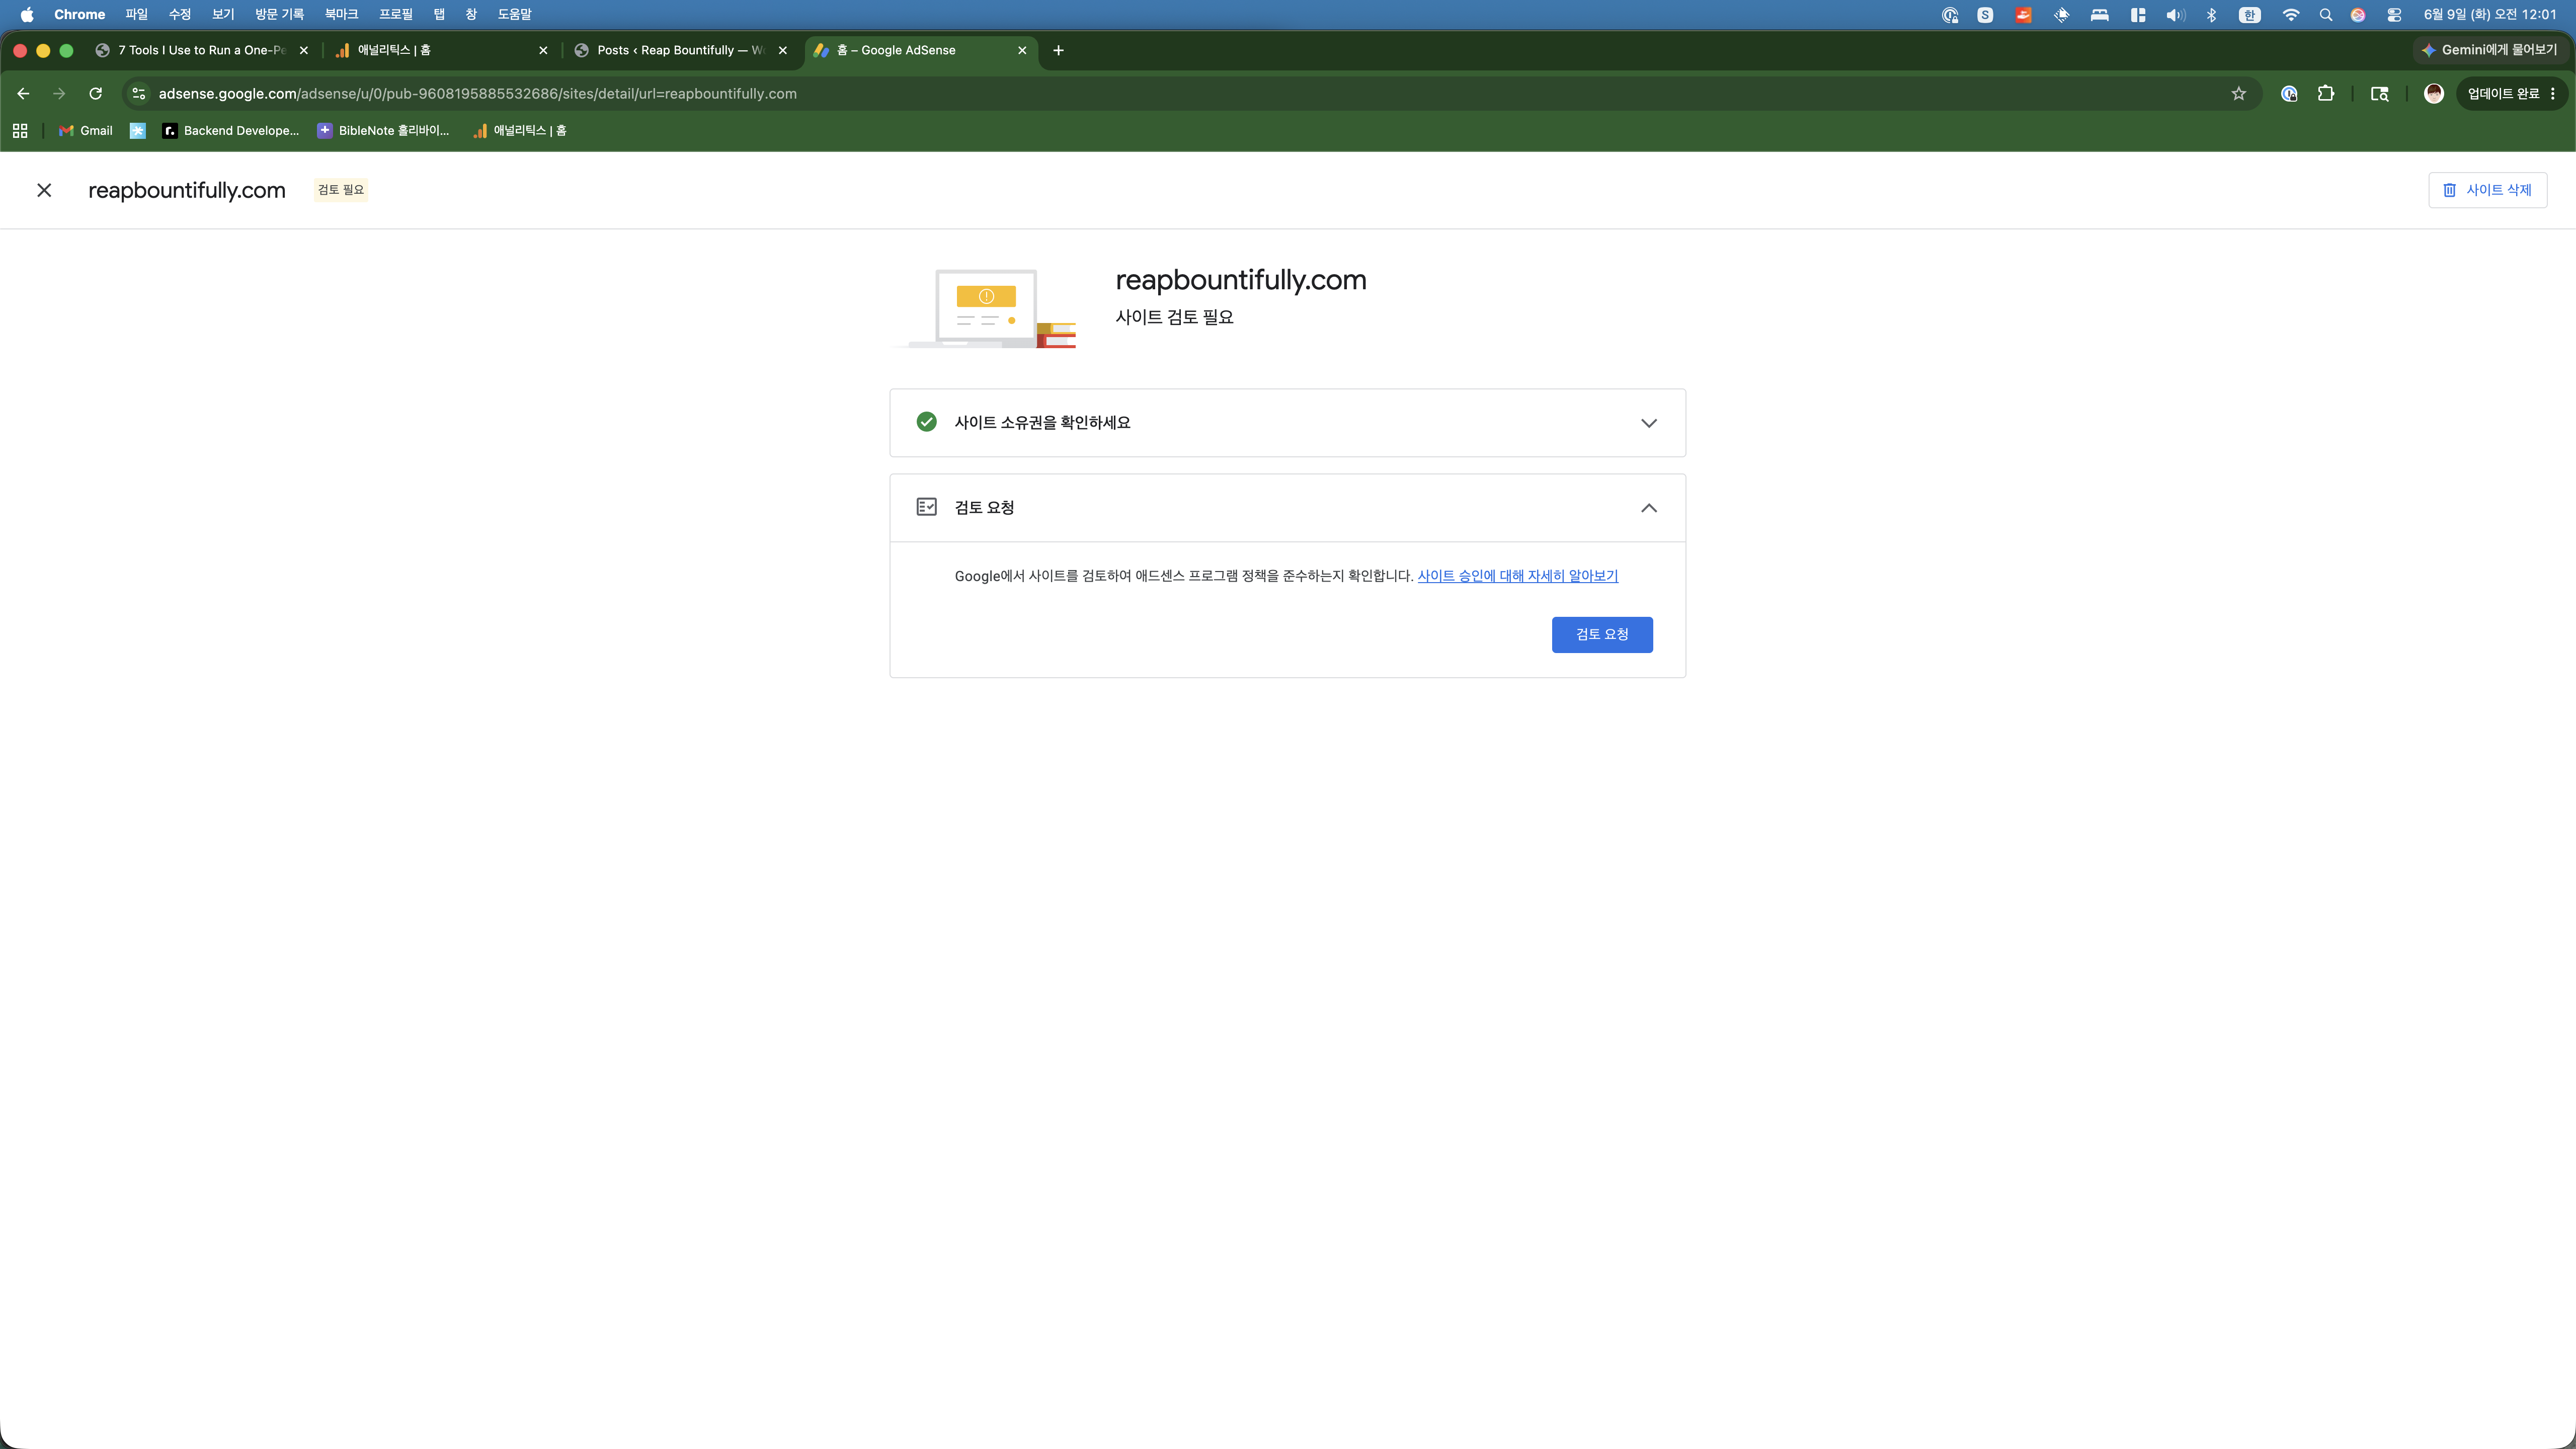
Deep breath. Click.
Scene 8: And Now We Wait
The final screen appeared: “사이트의 광고 게재 가능 여부 검토 중” — Reviewing whether ads can be displayed on your site. Status: “준비 중” (Preparing).
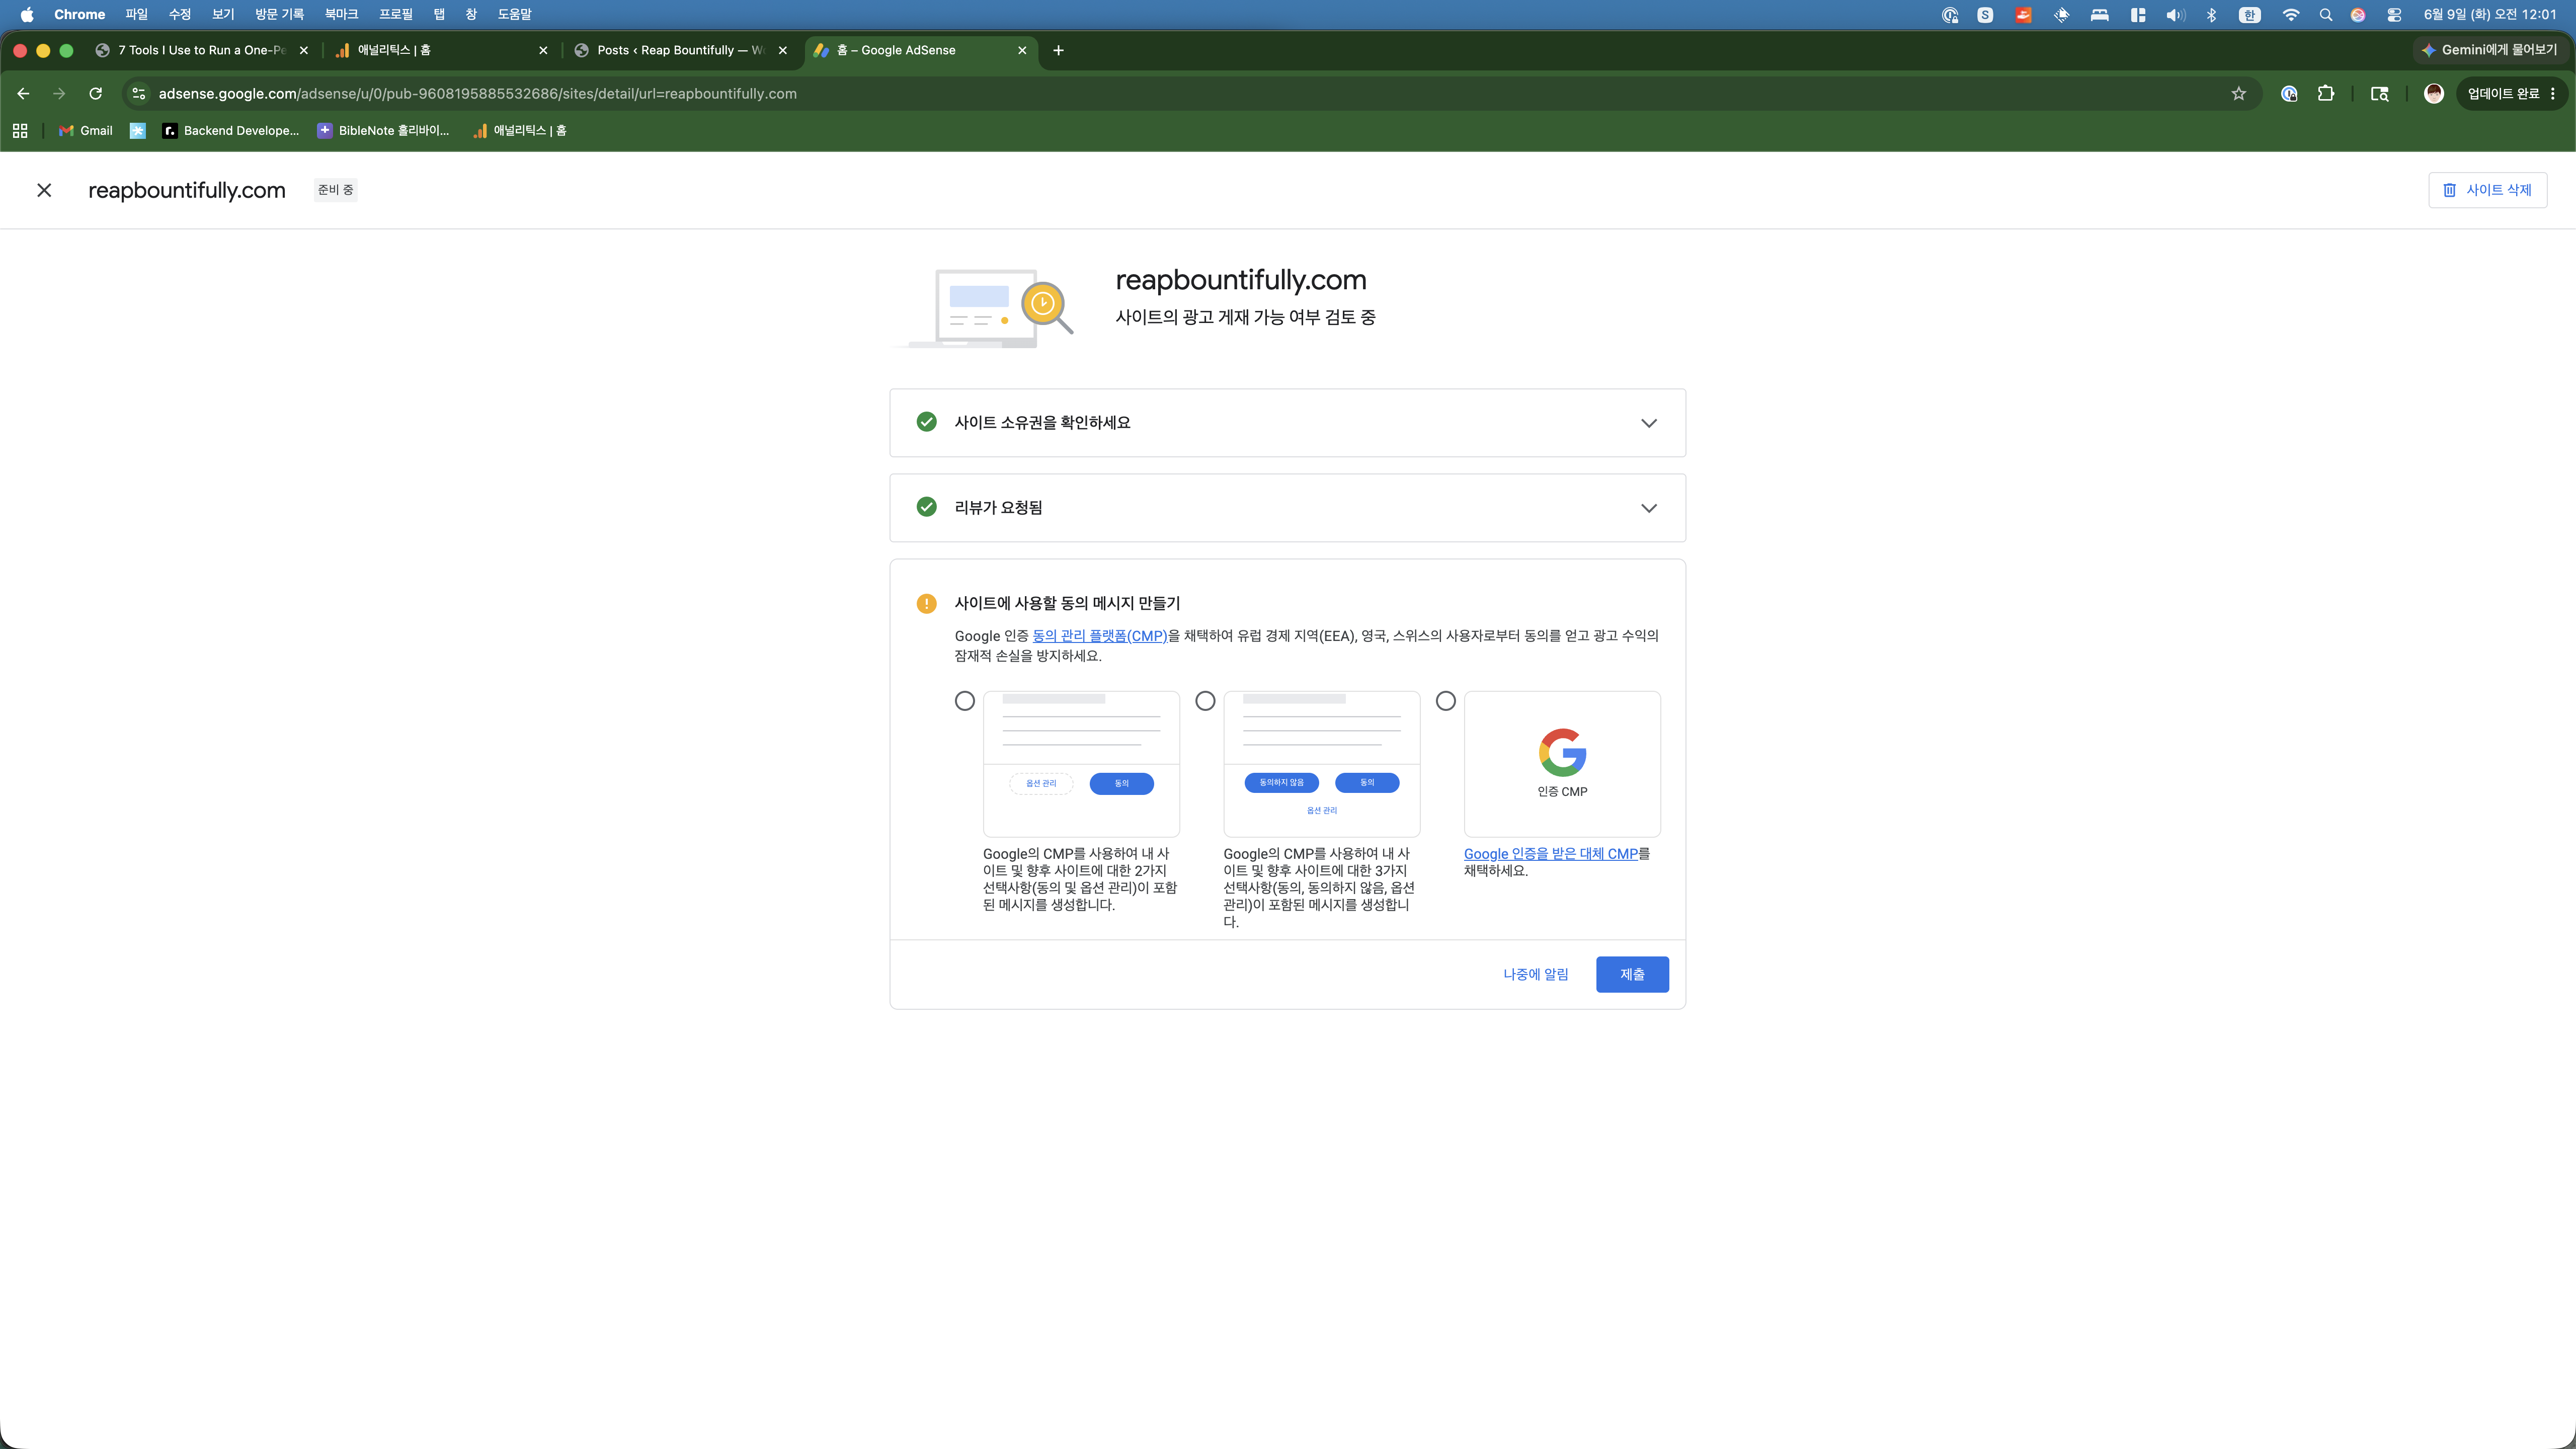
There was also a GDPR consent message setup option (CMP — Consent Management Platform). I skipped it for now. The blog’s target audience is primarily US-based, so European privacy consent isn’t an immediate priority. Something for later.
What Google Is Looking At Right Now
From what I’ve read and heard, Google’s AdSense review checks for:
- Content quality: Is the content original and useful?
- Site navigation: Can users find what they’re looking for?
- Privacy policy: Does the site have one? (Yes, we do.)
- Sufficient content: Enough pages to evaluate?
- Policy compliance: No prohibited content?
Here’s where I stand honestly:
- 30+ posts of original content — that’s solid
- Proper SEO structure with Yoast, sitemaps, meta descriptions
- Clean site navigation with categories, menus, and search
- Privacy policy page in place
- But… only 12 days old with minimal traffic
That last point is the risk factor. Some people report getting rejected for “low-value content” which sometimes really means “not enough traffic for us to care.” We’ll see.
The Timeline
Google says the review typically takes “a few days to a few weeks.” Most reports I’ve seen say anywhere from 24 hours to 14 days. So we’re looking at sometime between tomorrow and two weeks from now.
If approved: Ads start showing automatically on the site. I’ll write about optimizing ad placement and tracking the first dollar.
If rejected: I wait 30 days, fix whatever they flag, and reapply. And I’ll write a brutally honest post about the rejection. Either way, there’s a story here.
The Honest Summary
Total time from opening adsense.google.com to submitting for review: about 10 minutes. Across both parts.
The hardest technical challenge? Waiting 10 seconds for Claude to insert the verification code into the theme file. That’s not a joke — that was literally the only “coding” involved.
The AdSense application process itself is dead simple. Google has streamlined it to the point where there’s really nothing to be intimidated by. The real question isn’t “can you fill out the application?” — it’s “is your content good enough?”
And that’s a question only Google can answer right now. So we wait.
What’s Next: Part 3
Part 3 of this series will come when the review result arrives. It’ll be one of two posts:
- “We Got Approved” — first ad setup, placement strategy, tracking the first dollar
- “We Got Rejected” — what went wrong, what I’ll fix, and the reapplication plan
Either way, you’ll read about it here first. Subscribe or check back — the result should be in within two weeks.
How This Post Was Made
Every screenshot in this post was taken during the actual AdSense application process on Day 12 of this blog. I sent them to Claude Code, described what happened at each step, and it wrote this walkthrough. No stock photos, no hypothetical scenarios — this is exactly what the process looked like.
If we get rejected, Part 3 will be about that. If approved, Part 3 will be about the first dollar. Either way, you’re getting the real story.
This post was written with AI assistance. The experiences, screenshots, and decisions are real — the drafting was a collaboration between a human blogger and Claude Code. Learn more about how this blog is made.